Blow Out Tutorial – Updated!
I thought it only fair that I slightly revamp my most requested post, ever!
I shared this back in 2013(!) and I still swear by the same method. I chop and change the products I use, and from all the emails I get about them – it seems the original ones I posted no longer exist! So here’s a spruced up version with my current favourites.
The foundations of a great head of hair are your shampoo and conditioner.
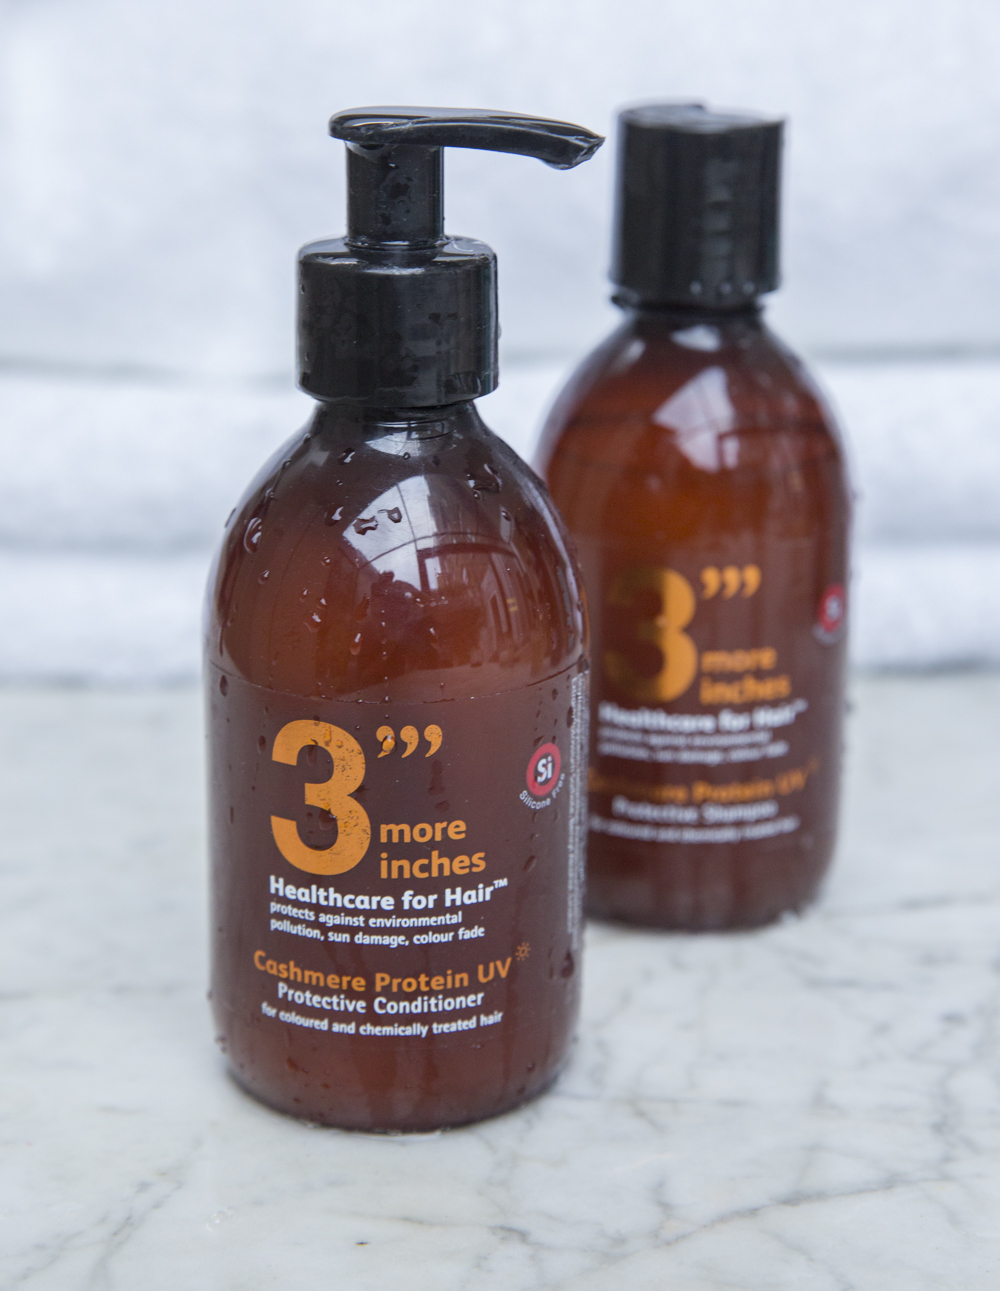
My hairdresser makes these and I trust him implicitly. He chose cashmere protein as it’s the closest match to your hair, so does more good than say… coconut, which bares no relation to your hair proteins. They smooth out frizz, brighten up shine and protect from sun damage.
A no brainer, really.
Ad - Shop this post
If you just want to dip your toe before jumping in, try the travel set.
Next you’ll want protection.
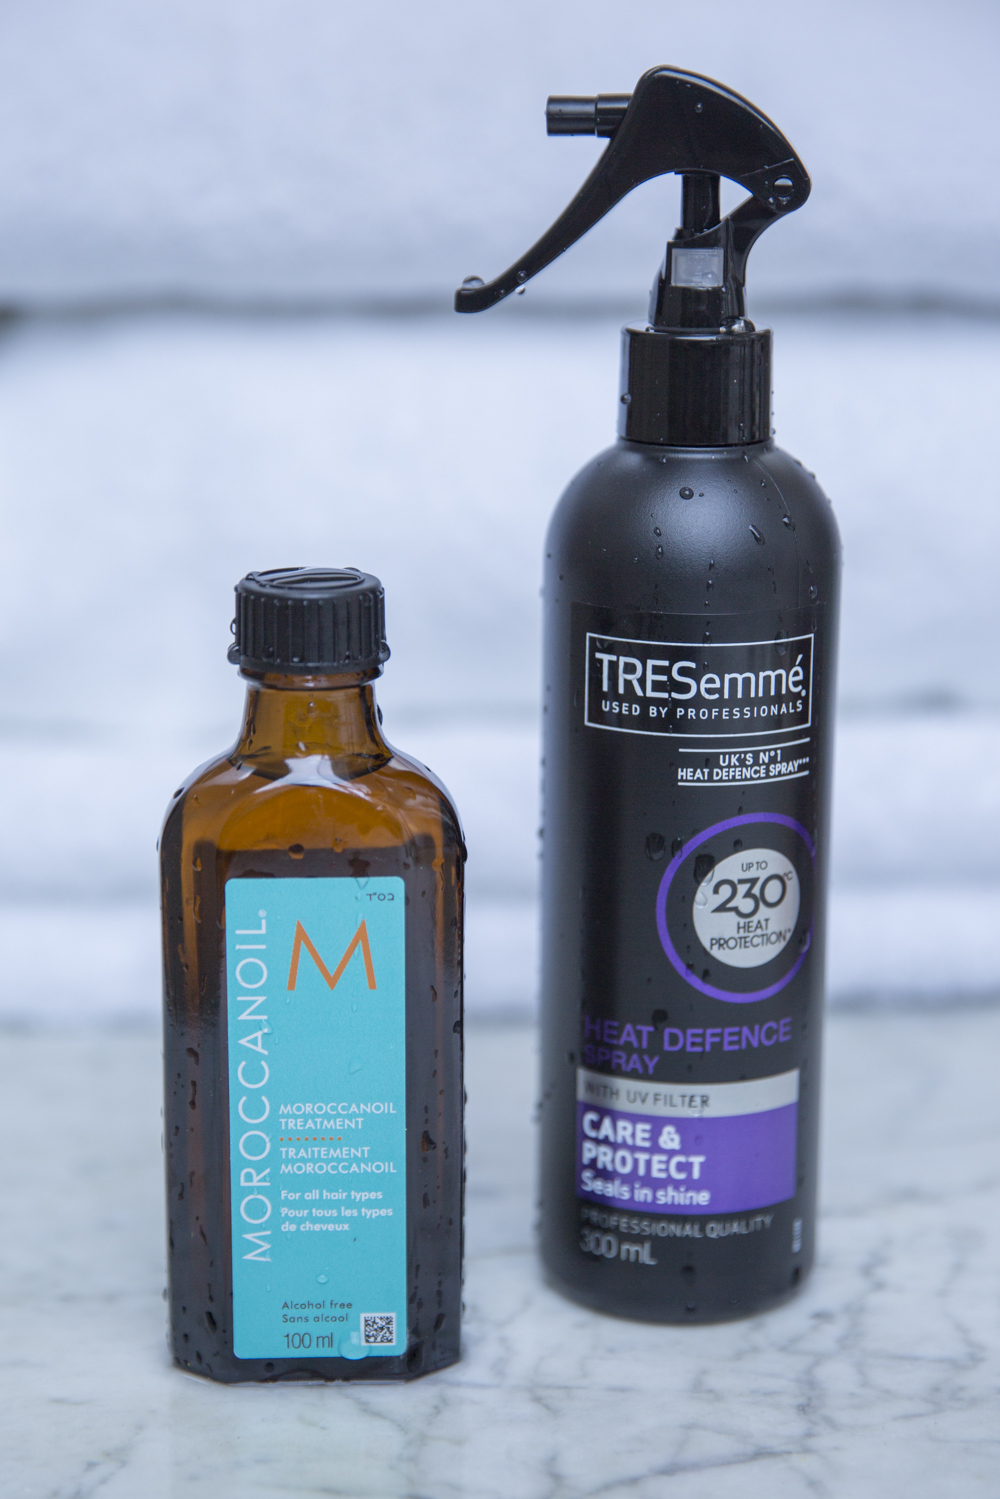
For a day-to-day blow dry I recommend Tresemme’s Heat Defence spray. It detangles as it protects, and cuts your blow dry time in half.
If your hair’s dry, damaged or just needs a little TLC, I’d smooth through the Moroccanoil Treatment.
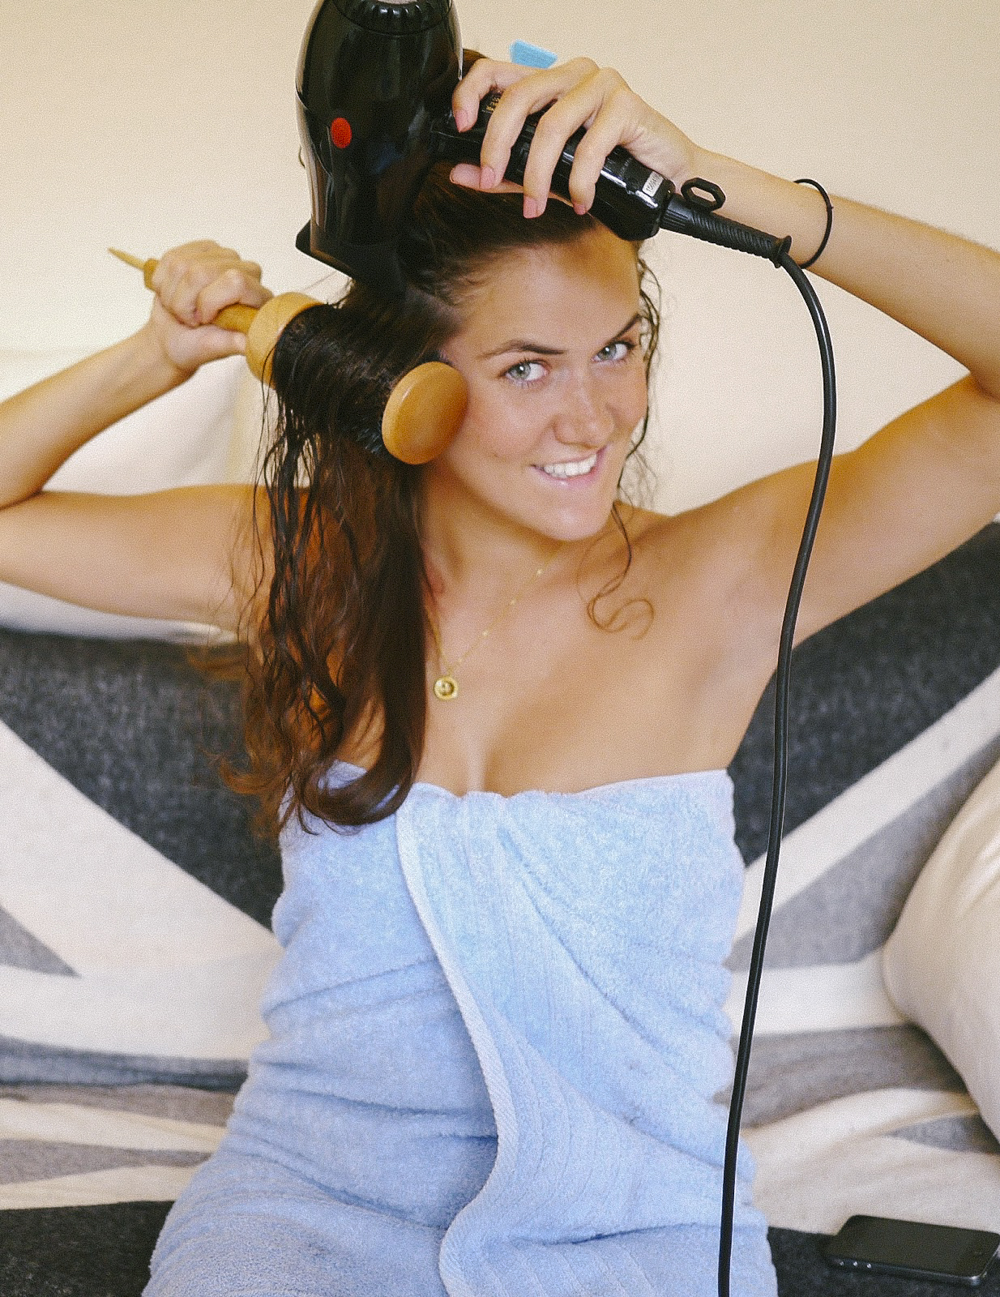
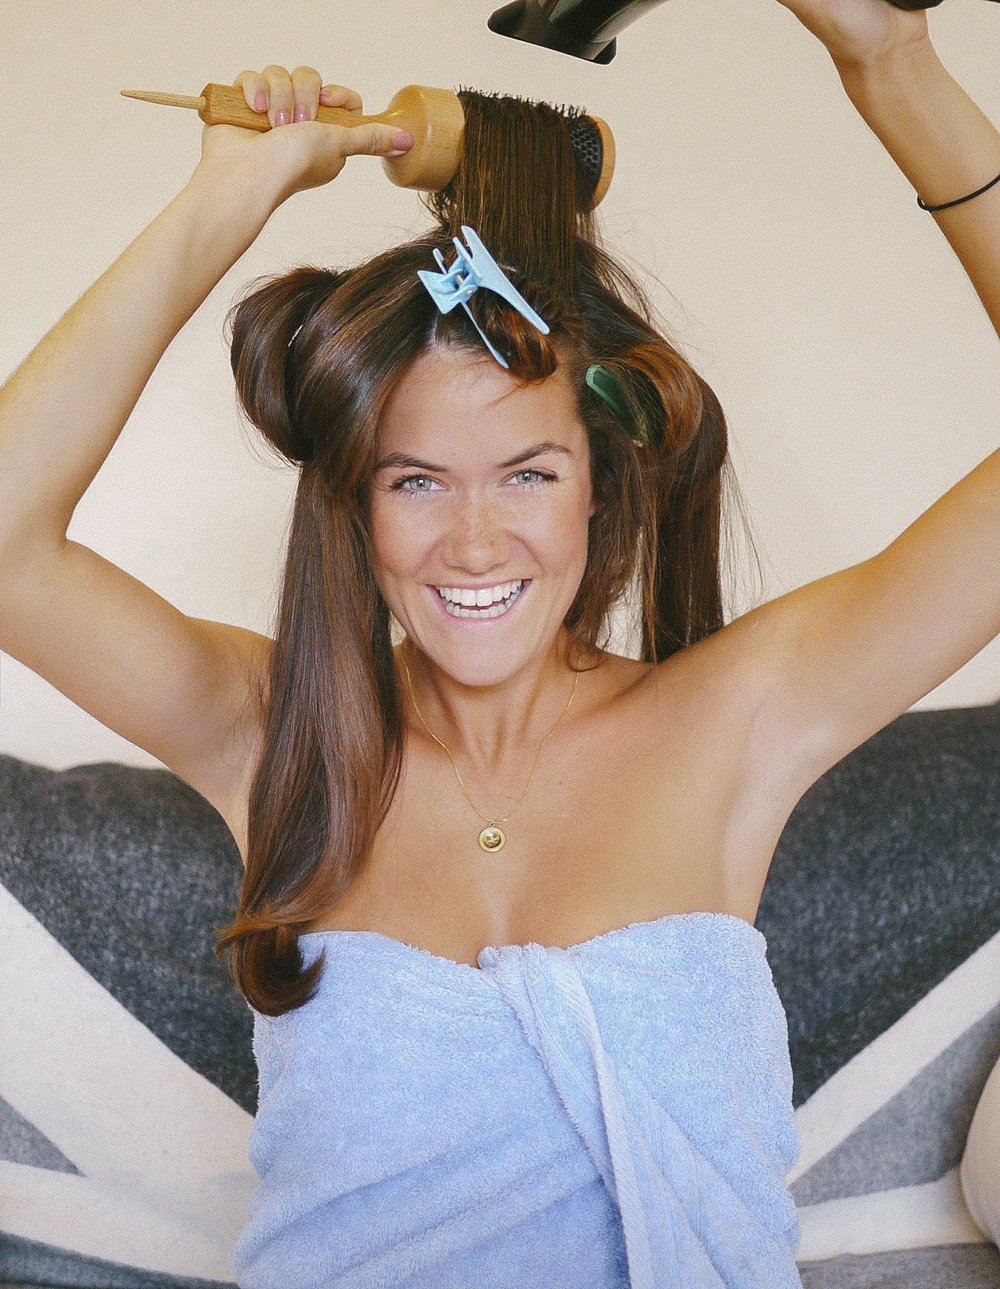
Other than that, you’ll want a hairdryer with a flat nozzle attached, a normal hairbrush, a roll brush (the bigger the brush the faster you can blow, but you’ll get bigger, looser curls) and large crocodile clips.
After you’ve washed and conditioned your hair, brush it through to get rid of any tangles.
Add heat protection and brush it again.

Clip most of your hair out of the way and leave yourself a nice little section to work with.
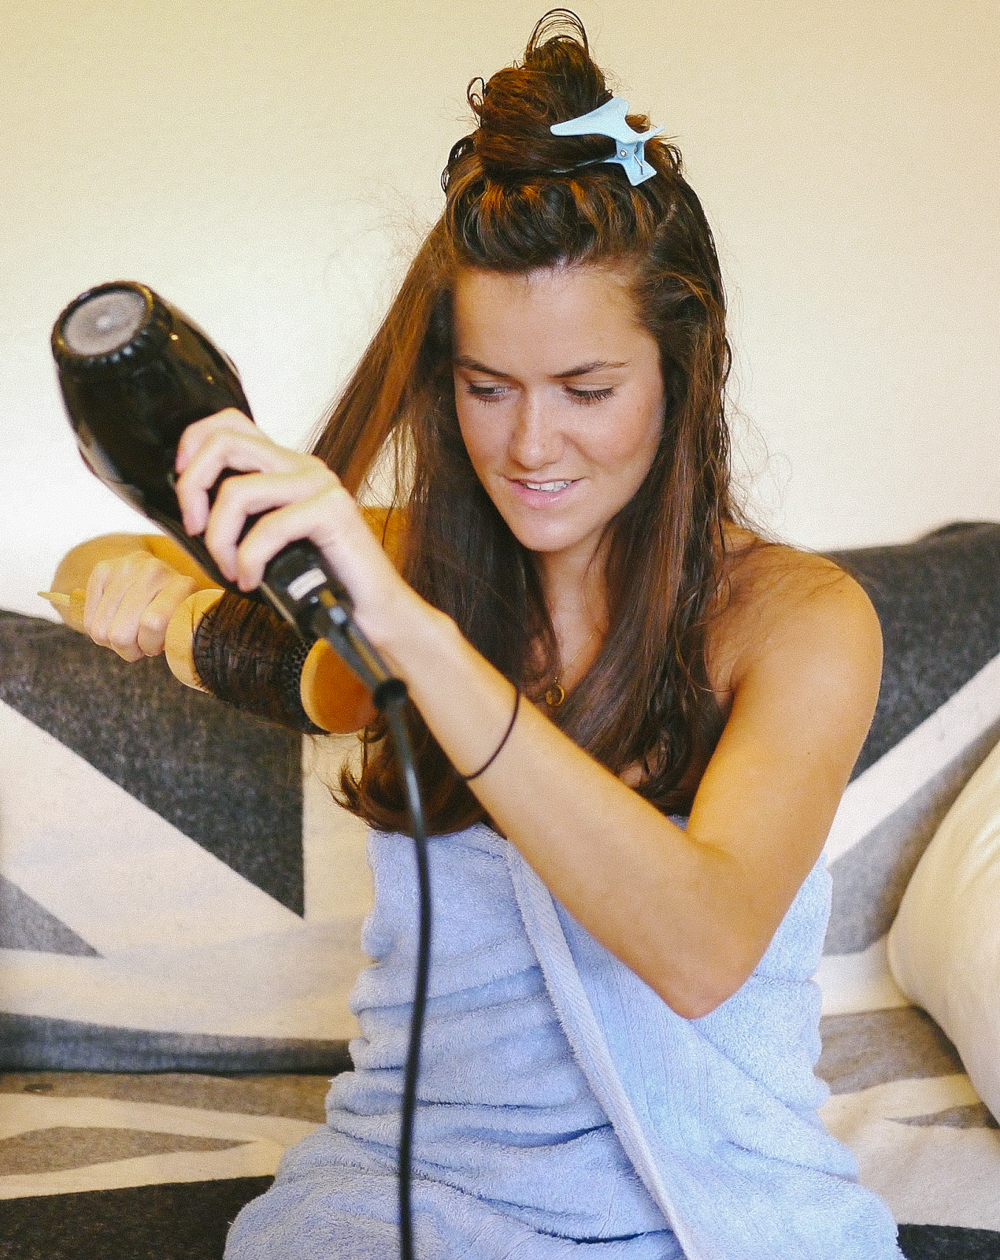
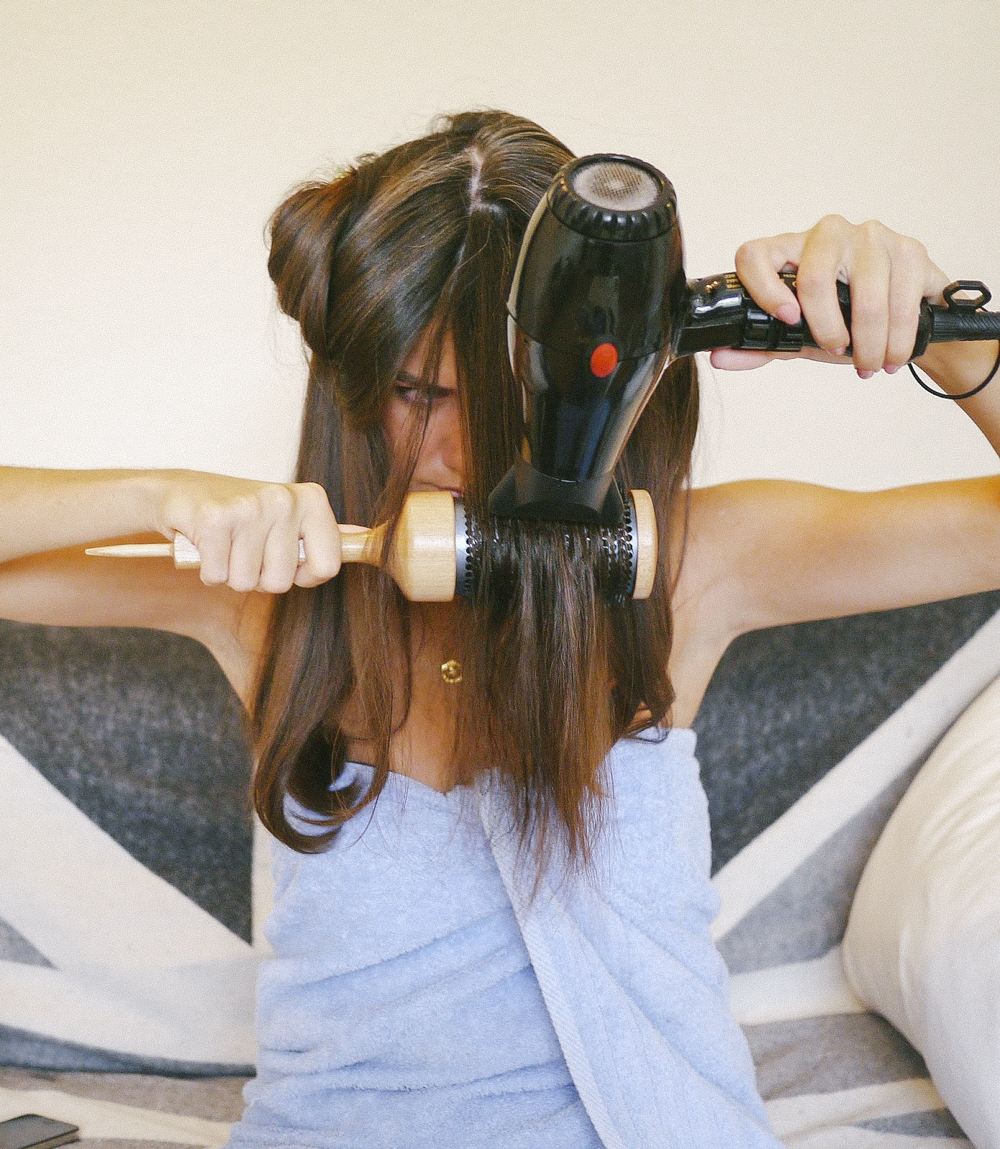
Position your brush under the section and your dryer over the top, about an inch away.
Brush through the length of the section and twist the hair under at the end, to create a bit of a curl.
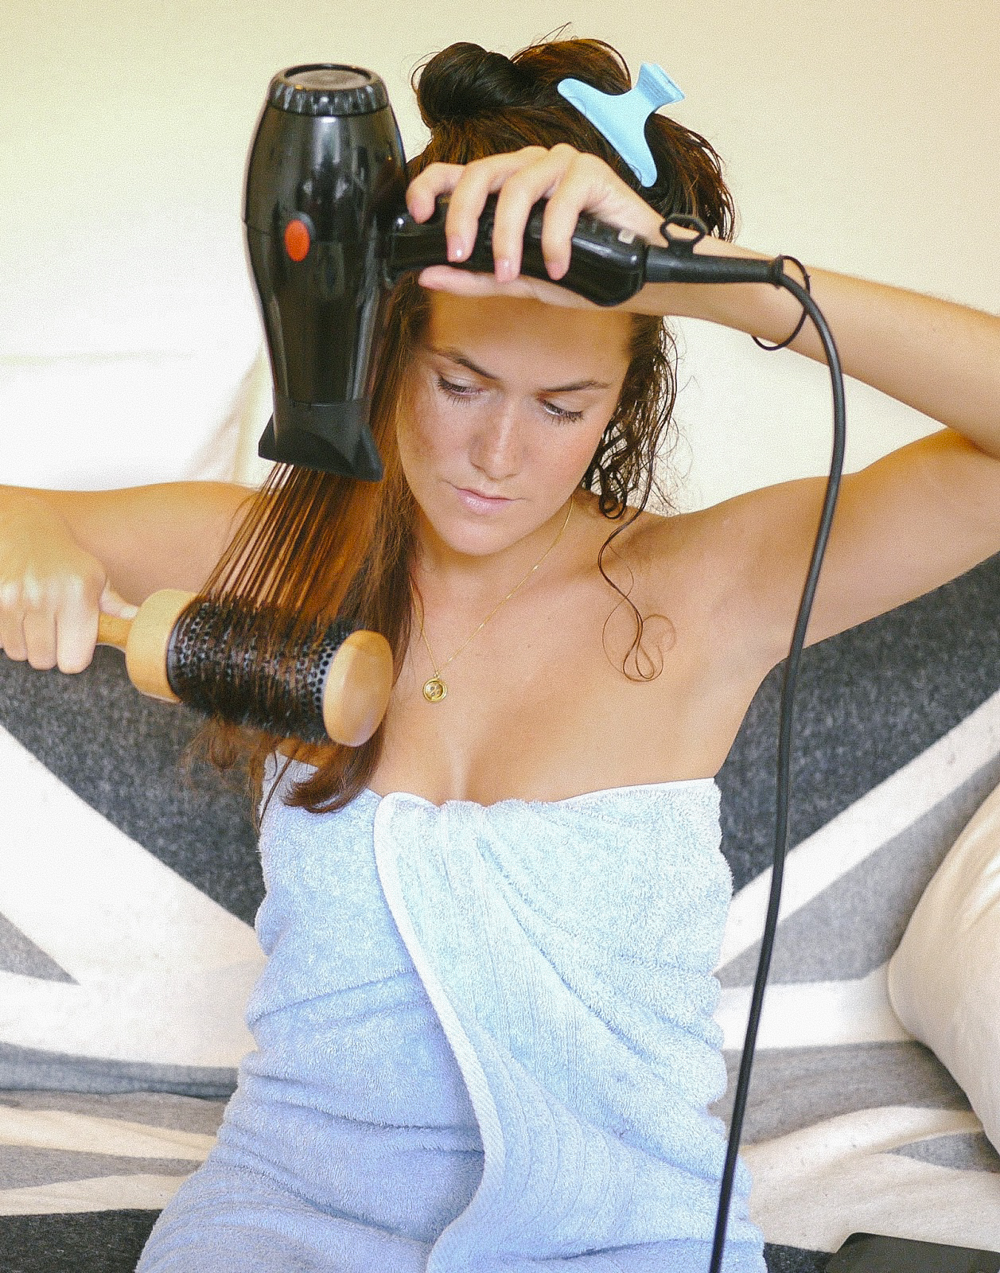
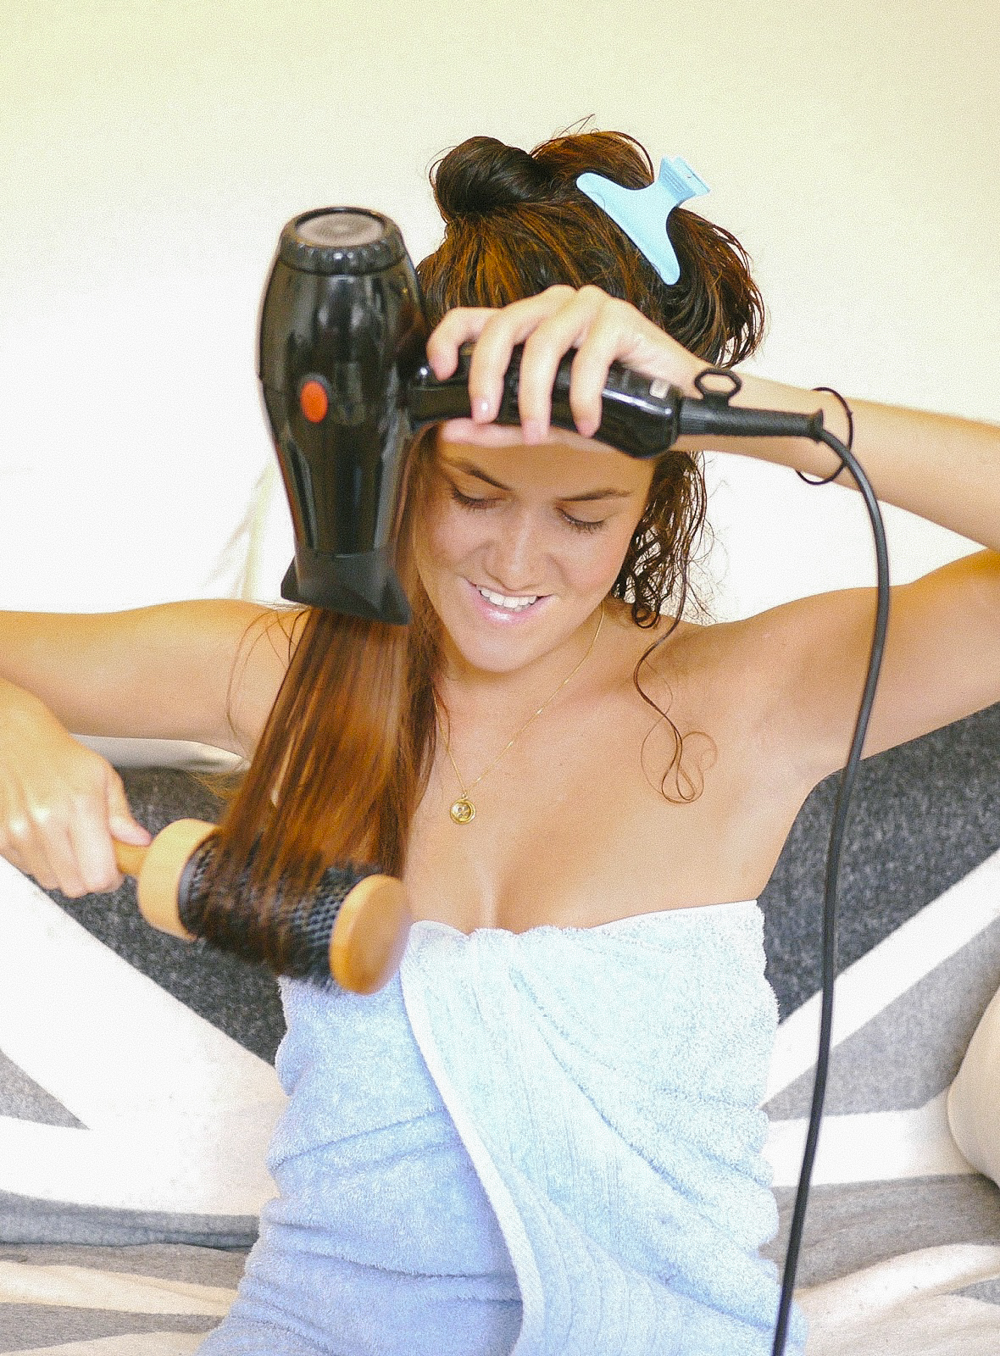
Do the same to the other side, still just working on the bottom layer.

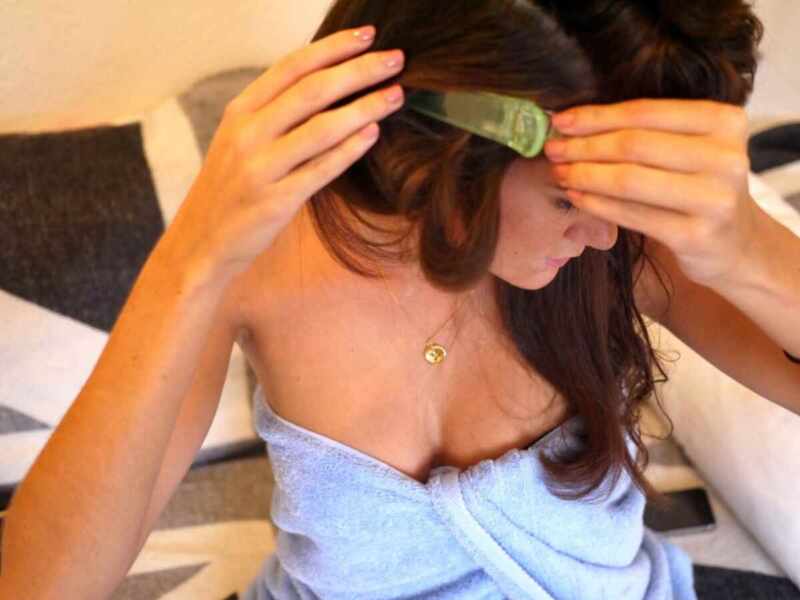
Once you’re satisfied, move up a layer.
Then curl up your hair and clip it into place.
This way the hair will cool into a curl and it’ll stay bouncy for longer.
I find the top of my hair a bit trickier because I blow it up and backwards… which is a bit like rubbing your tummy and patting your head at the same time.
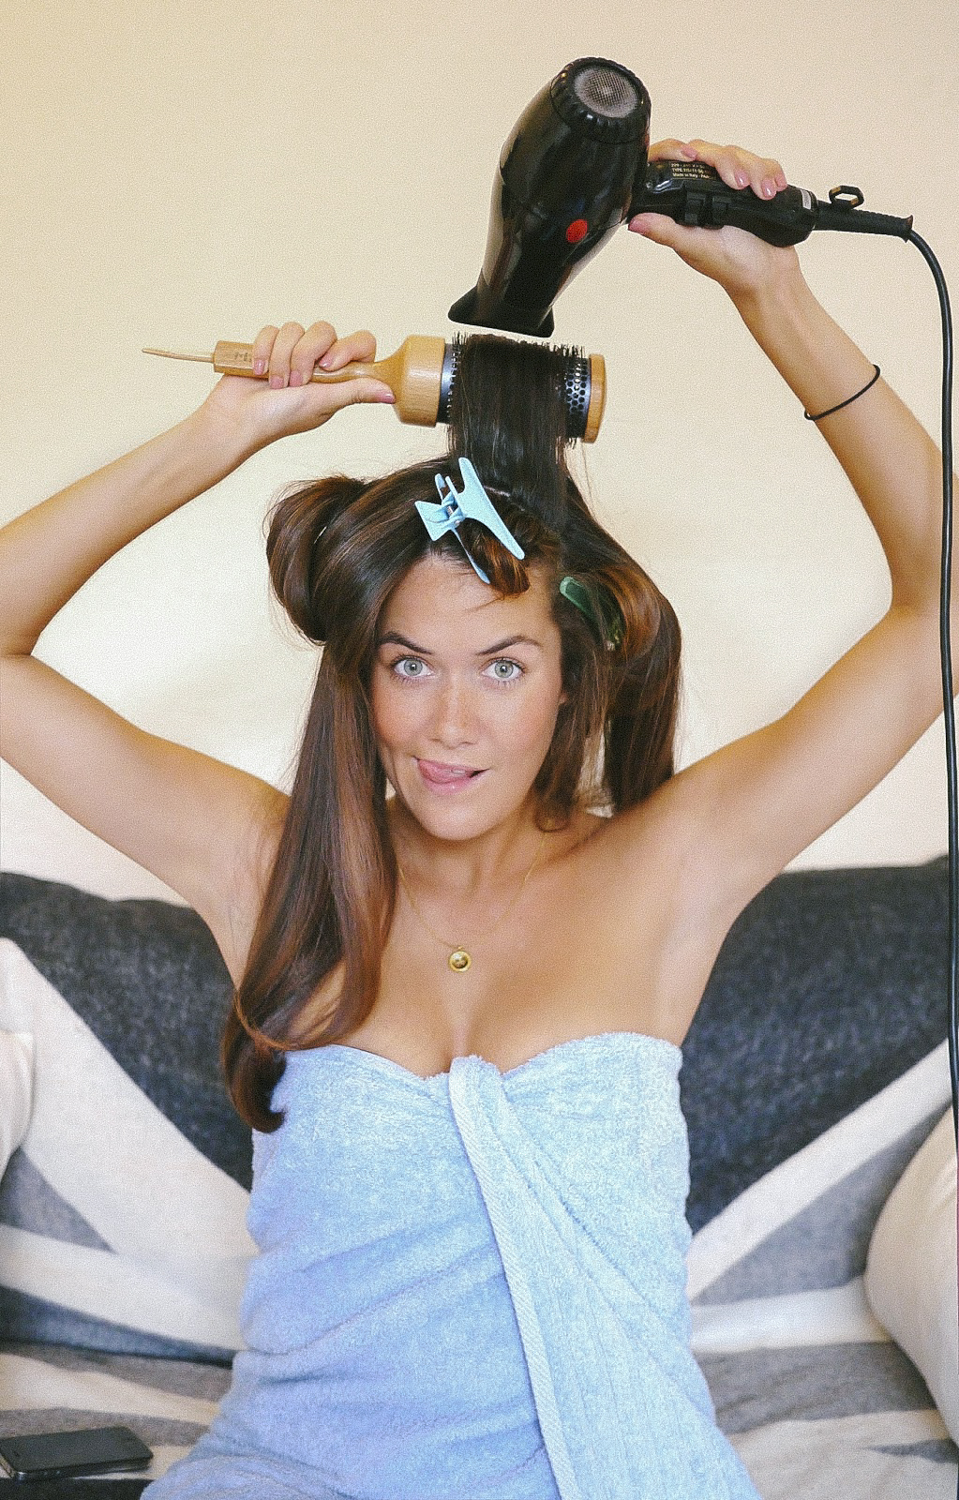
Blow the front forwards, so that when you flick it back later it’ll be all swoopy (technical term) and voluminous.
(Look at all those greys! This was taken 5 years ago… I’d better not look now!)
Finally, remove all of the crocodiles.
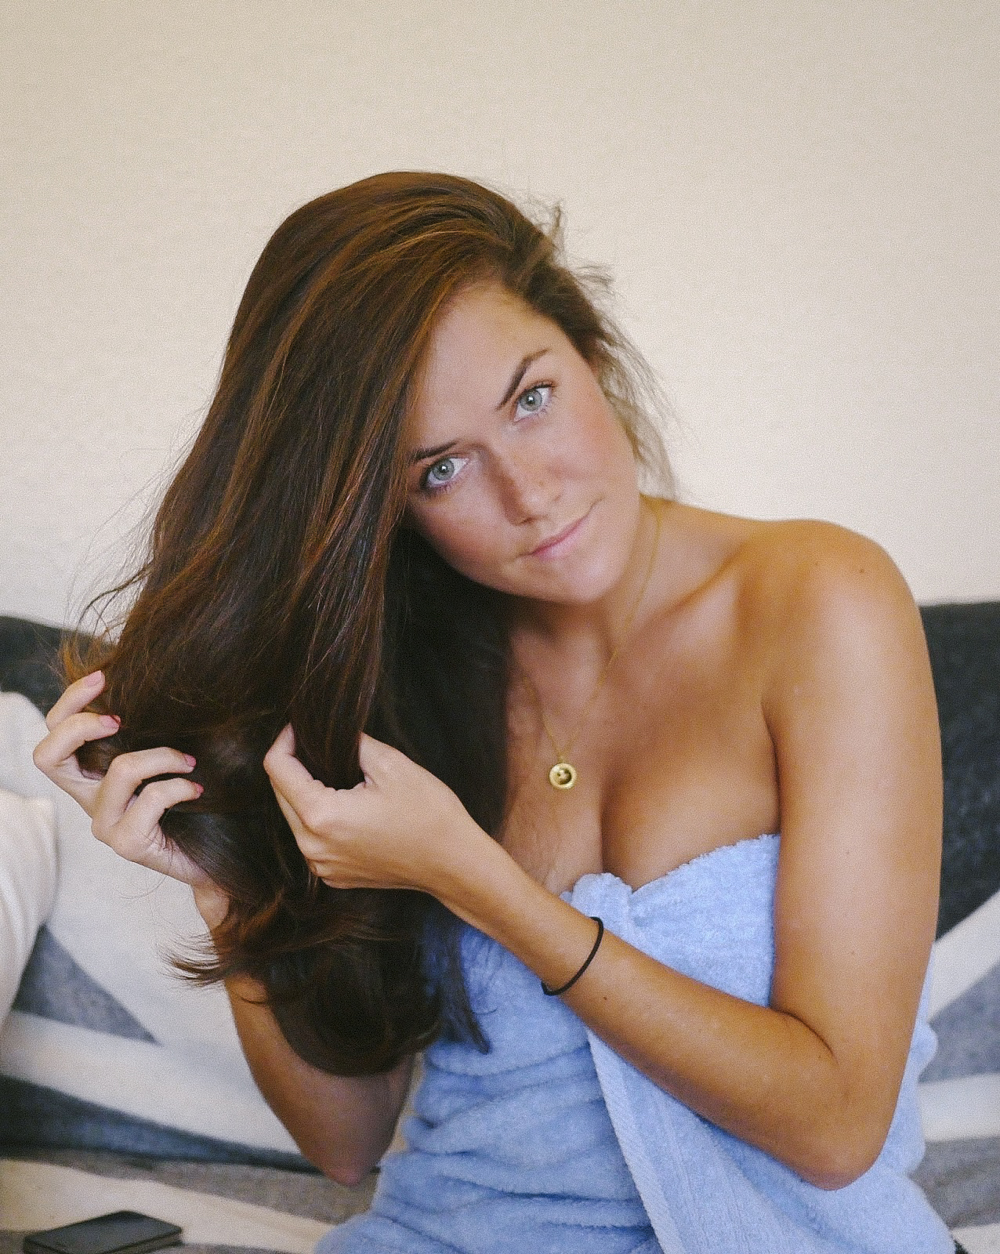
Shake out your hair.
Squidge a pea sized amount of oil into your hands and rub them so it’s evenly distributed all over your palms.
Turn your head upside down and ruffle your hands through your curls, coating the curls in oil without making it greasy.
Flip up and smooth a few layers through your fingers to define the curls and add shine.

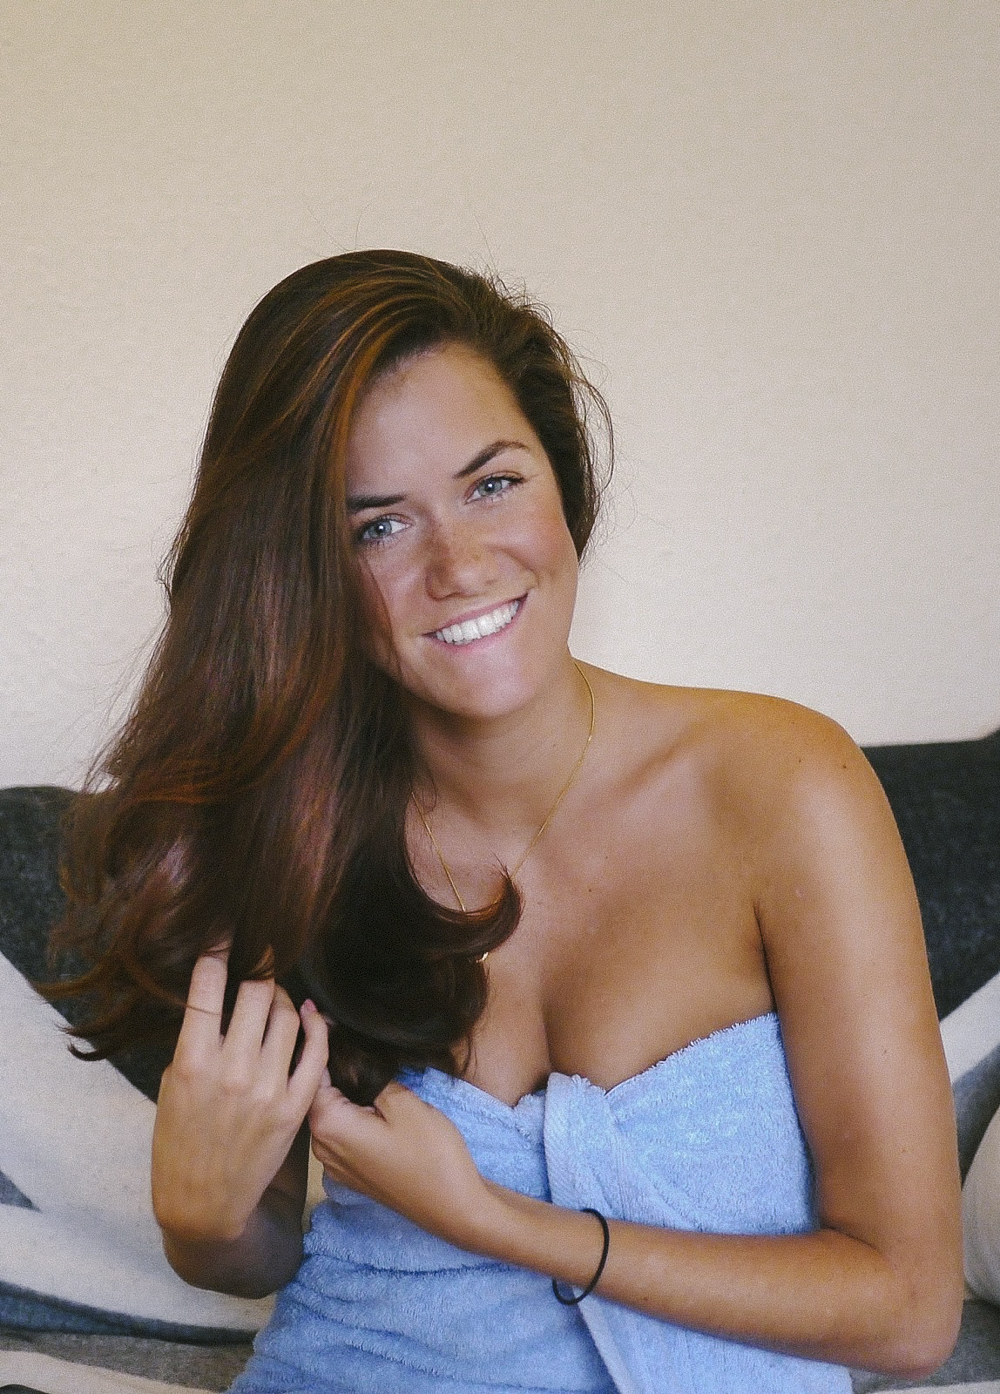
And you’re done!
Ready to roll…
The oil I recommend is from Show Beauty. It’s the salon I go to when I don’t have time to do my own blow-dry.
The products are fab, particularly the oil. (They’re all in the sale here – try the thickening mist!)
Ad - Shop this post
Use the silky oil on your curls after the blow dry and then a couple days later to gloss them up again.
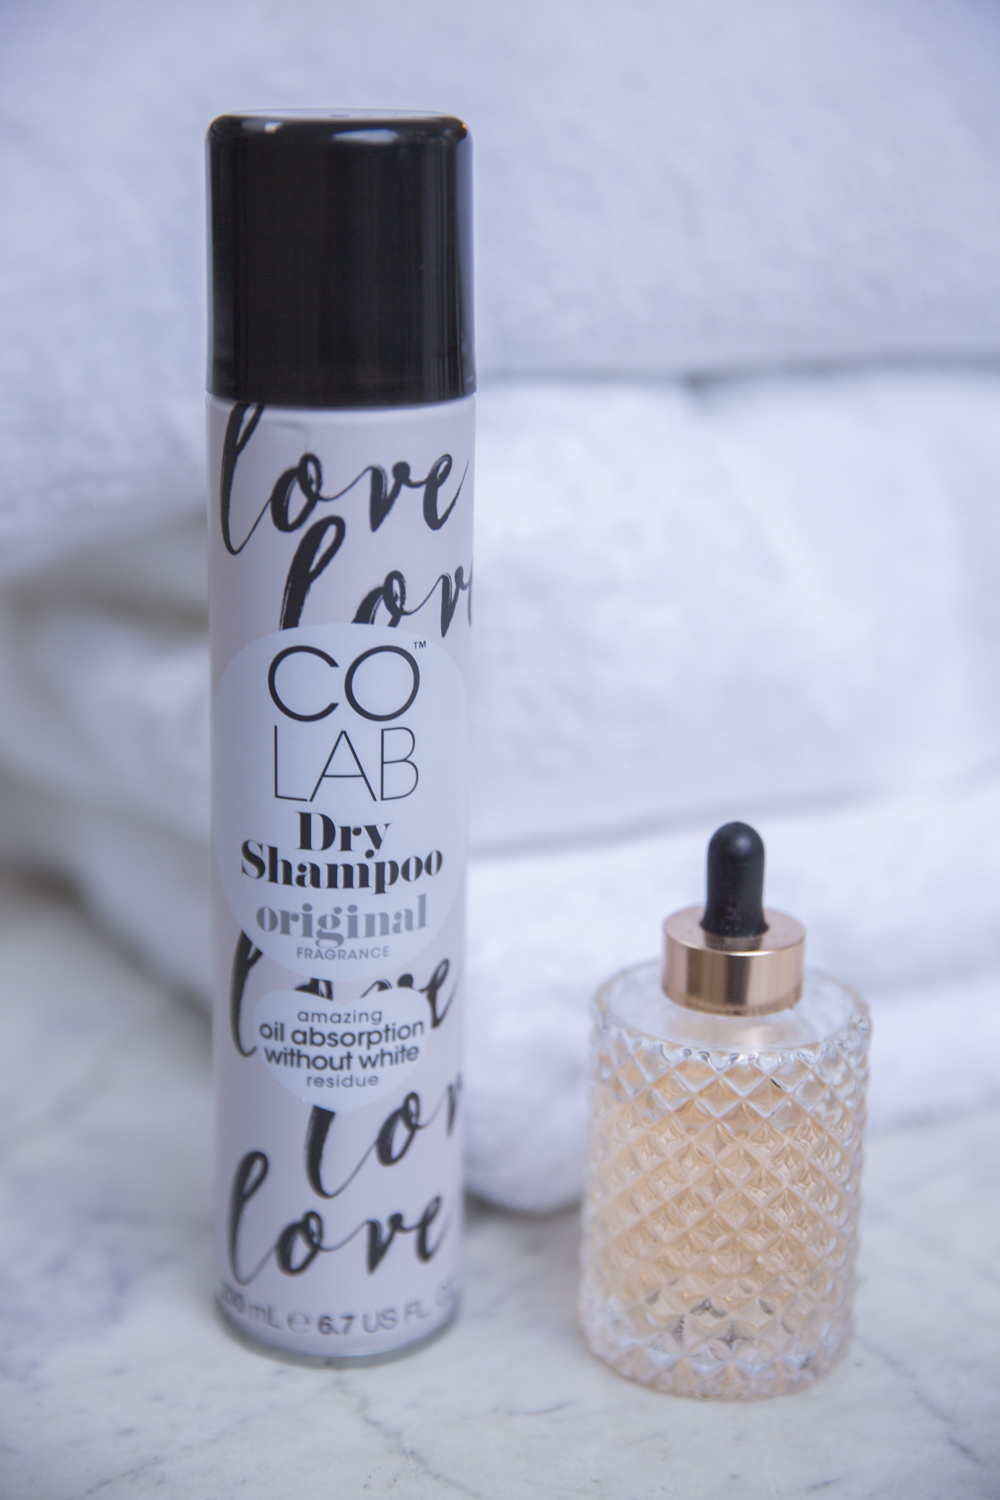
With a little help for our roots from our friends at Collab, of course!
The very best dry shampoo I’ve tried, and you really can’t argue with that price.
Ad - Shop this post
I only blow my hair out once or twice a week, so I don’t damage it and end up with straw (like I did at university when I first discovered hair straighteners! Woops).
When you go to bed, twirl your hair up into a pineapple & tie it up with a snag-free hairband.
That way it’ll keep its curl and stay bouncy all week long.
Ps. If you’re wondering where my button necklace is from, it’s one of my sister’s designs! You can find it here.
previous post | next post
You might like the following posts too:
×
You’ve got mail!
Sign up to get new posts before anyone else...
