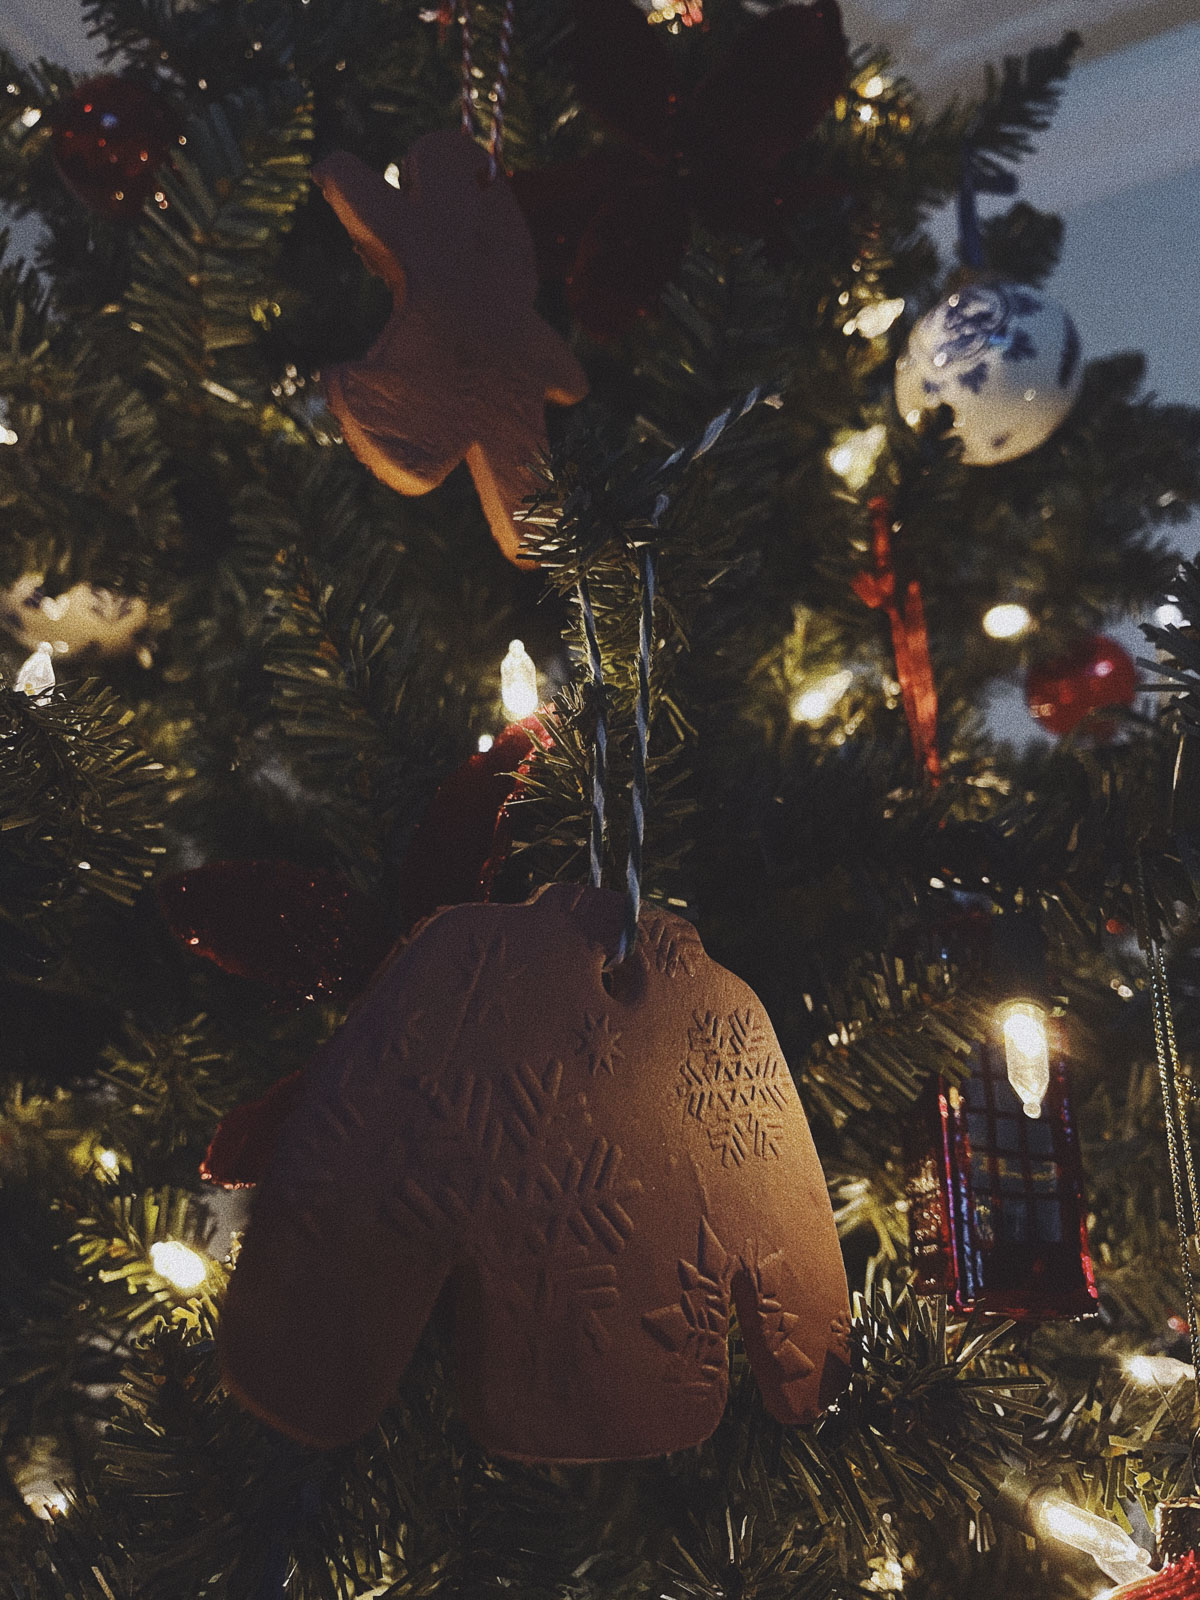
There’s something special about homemade Christmas decorations.
Perhaps, like people, it’s their imperfections that make them all the more loveable.
There’s so much joy in the making, and even more in the hanging and gifting of these simple little baubles, I thoroughly suggest tree-ting yourself to an afternoon of making a few!
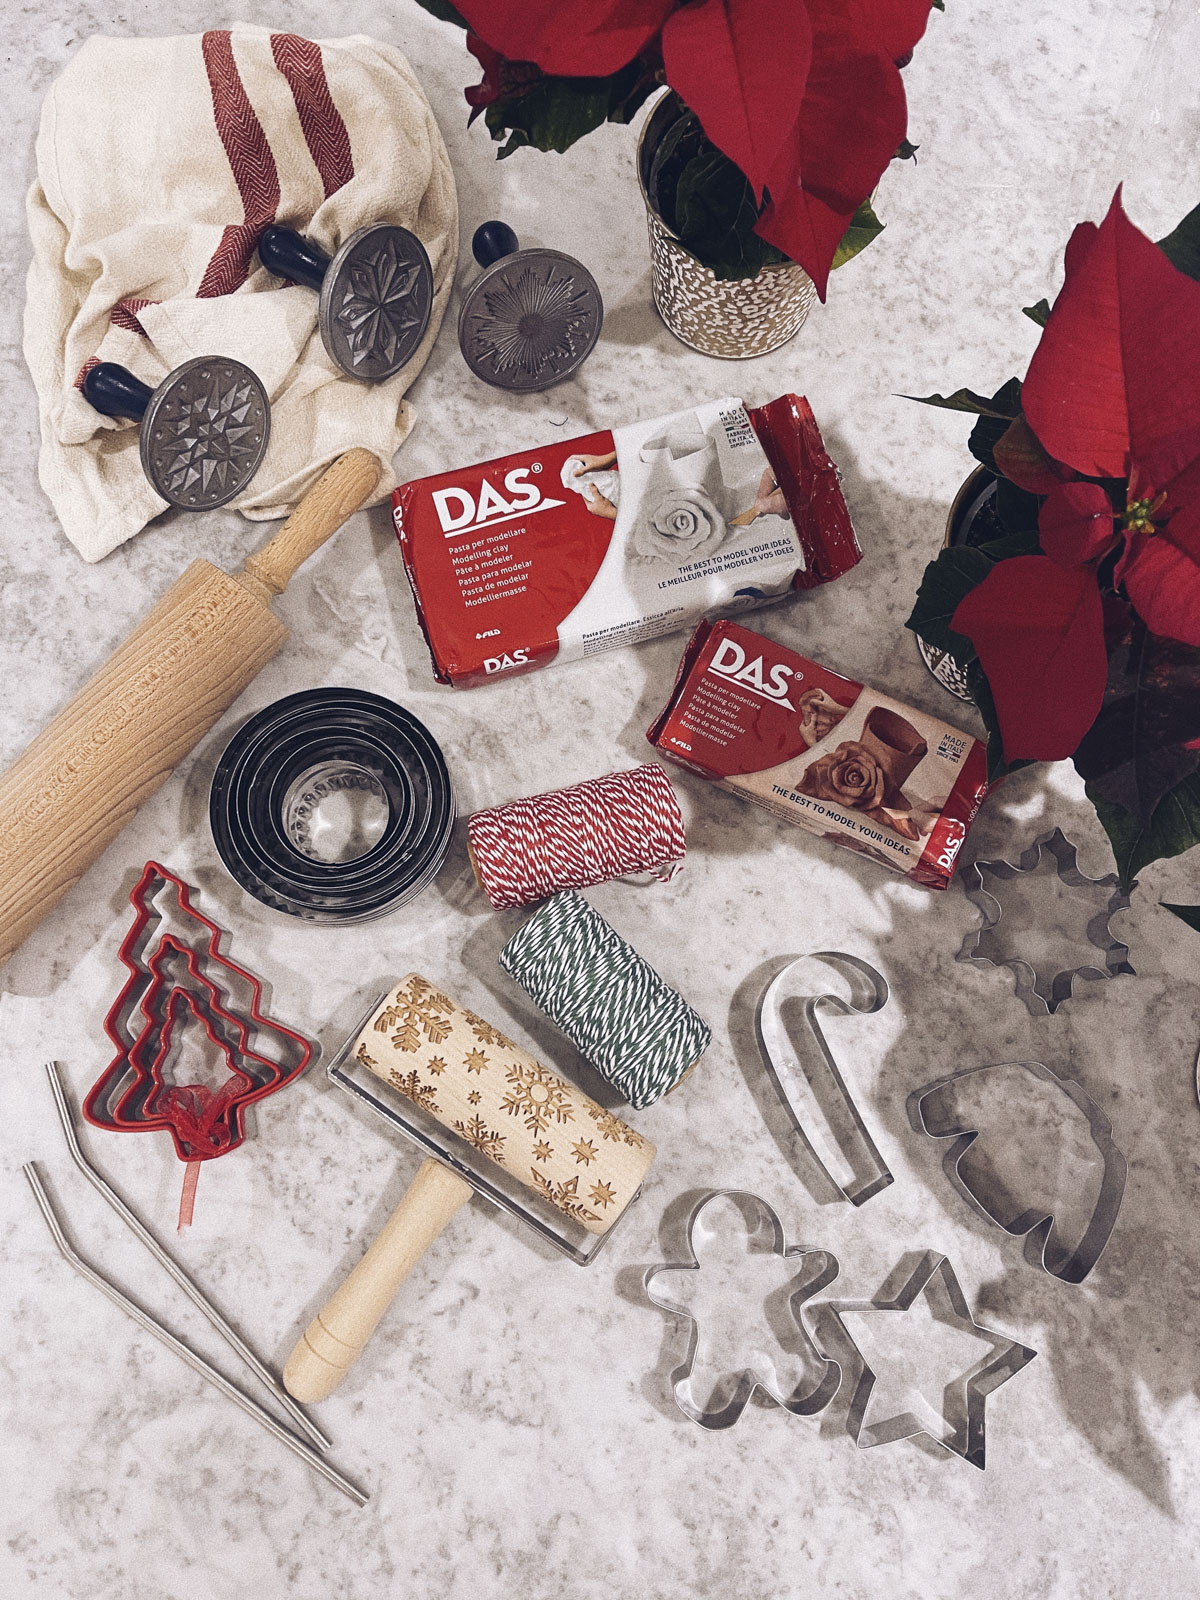
You’ll need:
Air dry clay (I chose terracotta colour, but you could choose white and paint them any colour you like)
A rolling pin
Printing tools (optional)
Christmas cookie cutters
Reusable straws
String
Festive essential oils (optional)
Parchment paper
Wire cooling rack
Ad - Shop this post
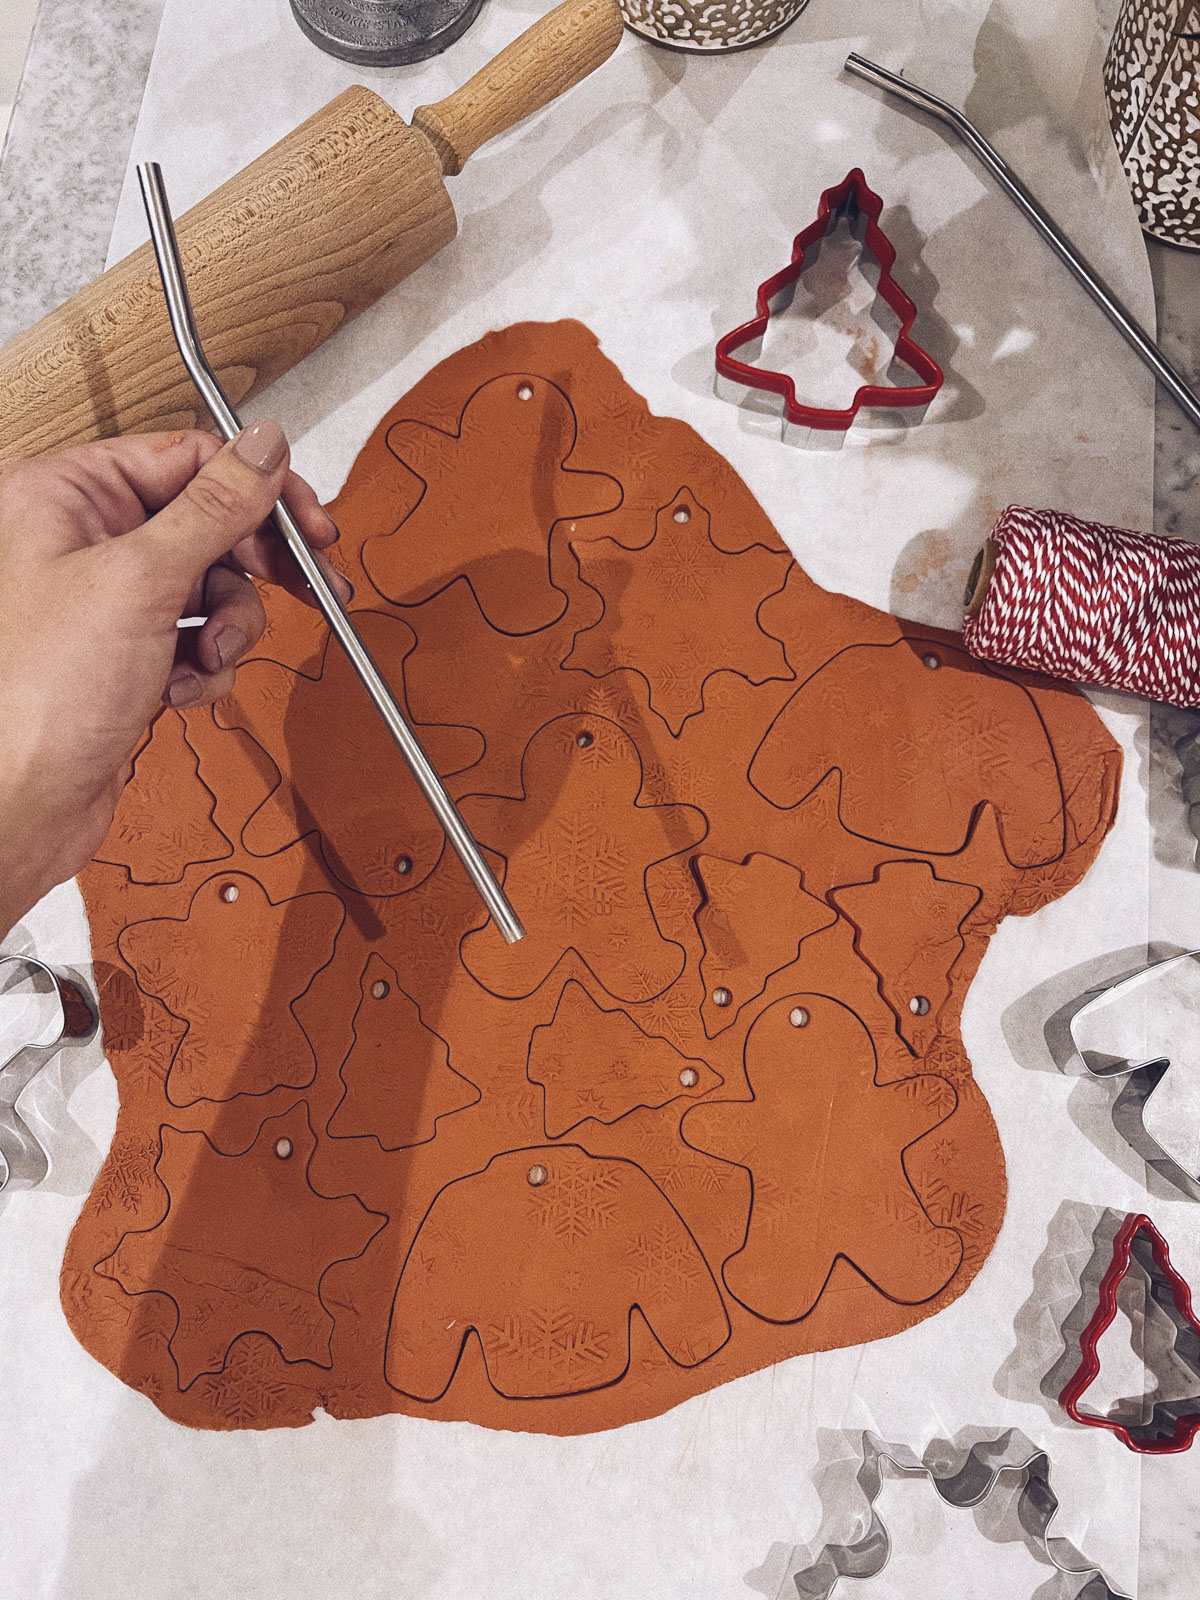
Roll out your clay. Then stamp on whatever festive design you fancy, we went for snowflakes.
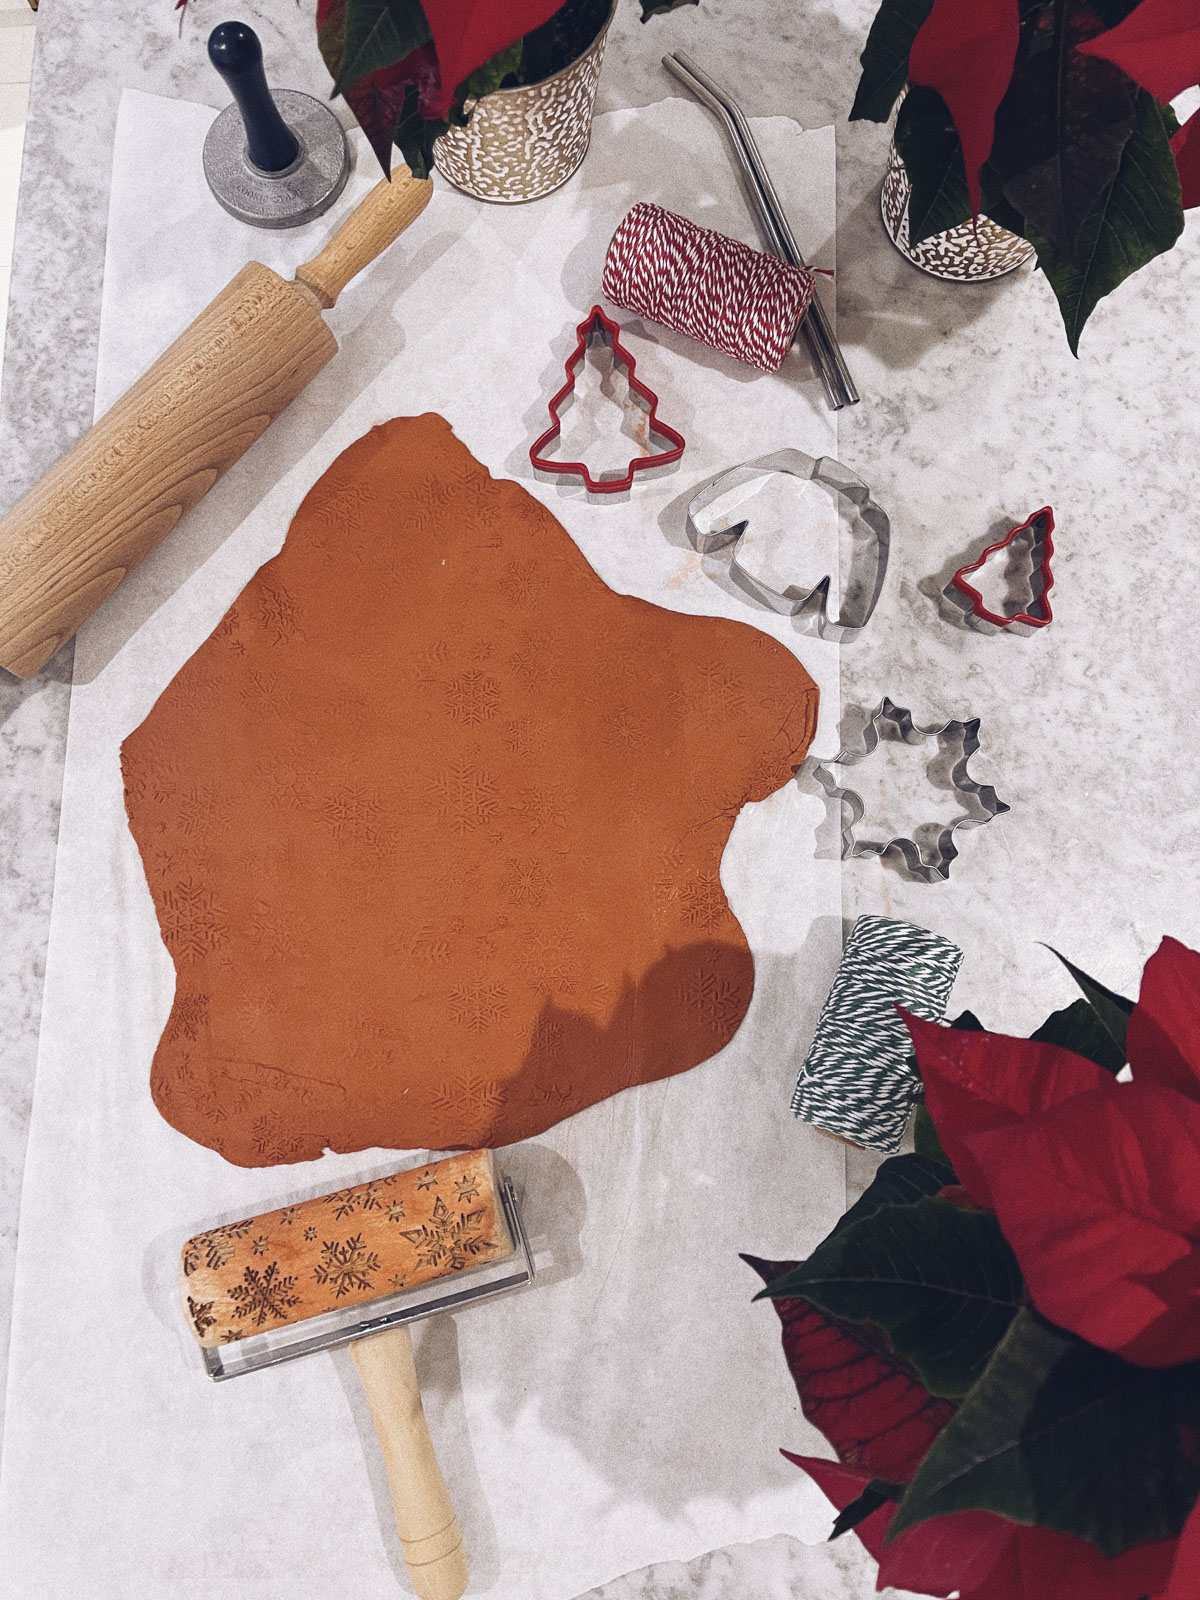
Use your cookie cutters to cut out your shapes.
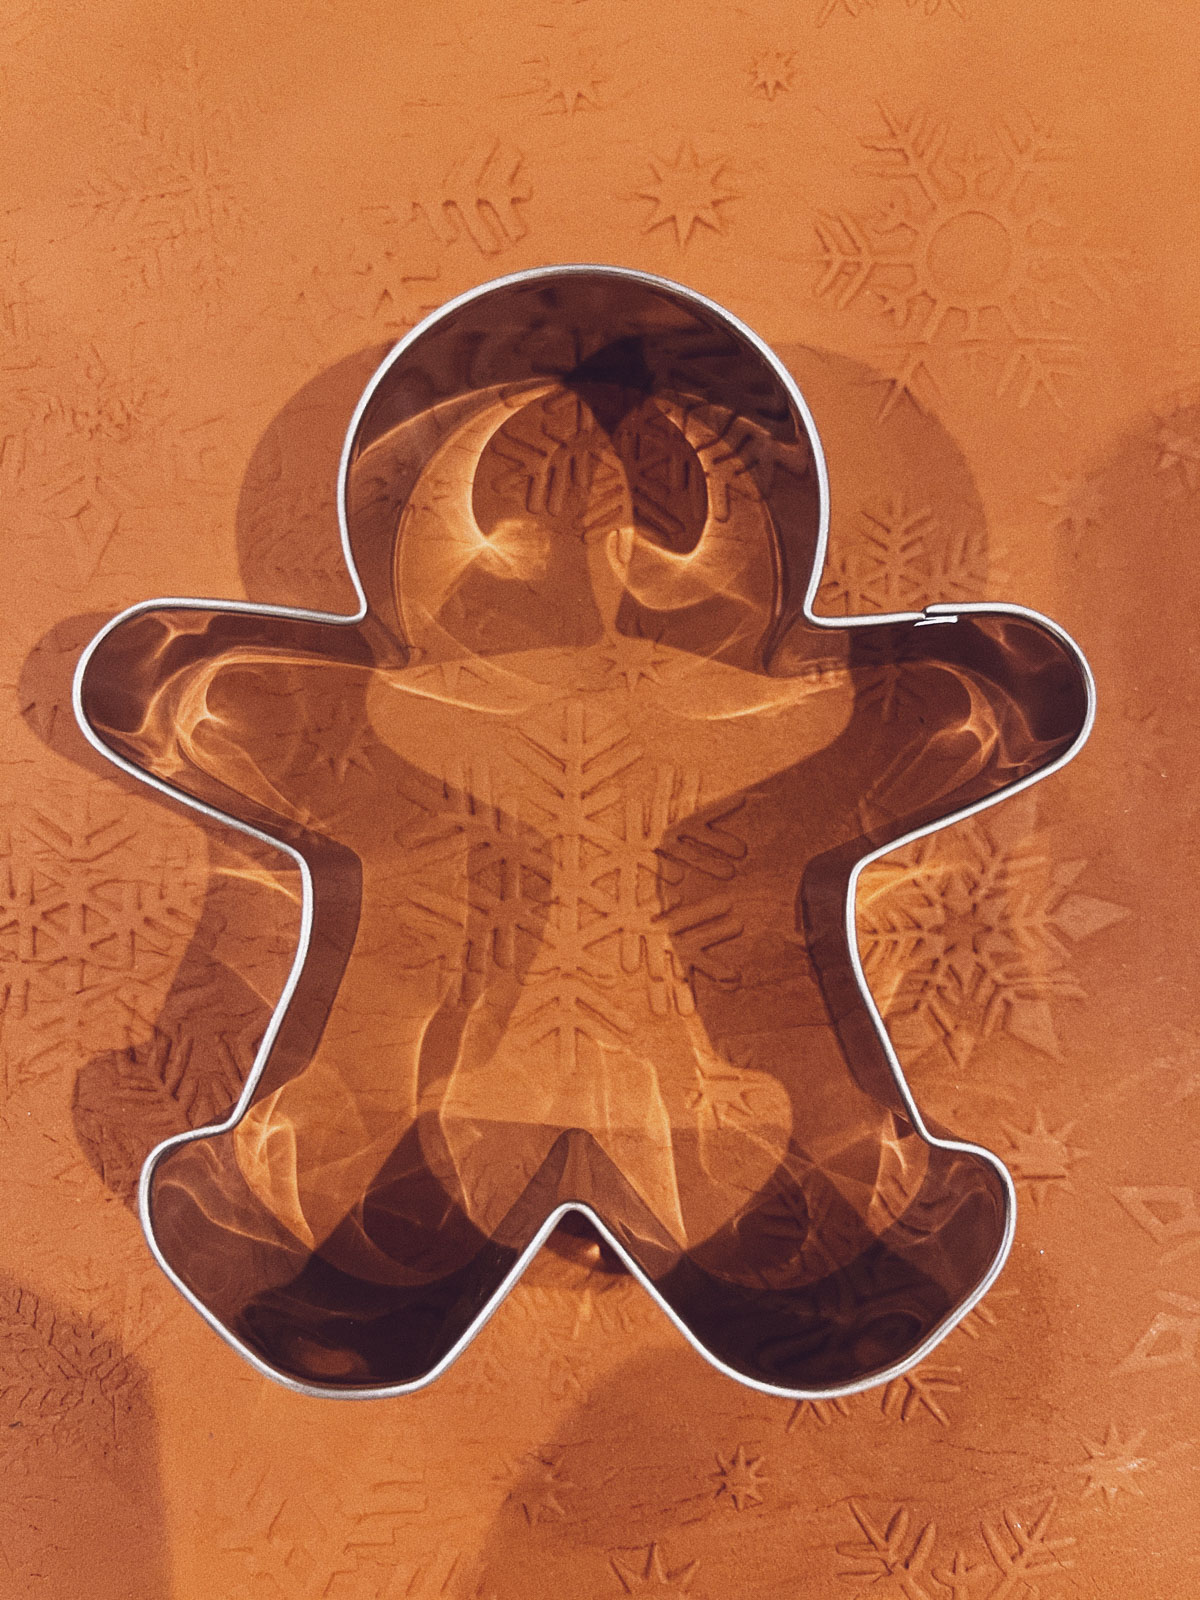
Fit as many as you can on there…

Then re-roll the left overs and do it all over again!
Use a straw to cut out holes to string your ornaments.
Place them all onto a cooling rack to dry.
Ideally somewhere nice and warm, we popped ours on top of the AGA but a airing cupboard would work, beside a radiator, or just on the side if you don’t mind waiting a bit longer.
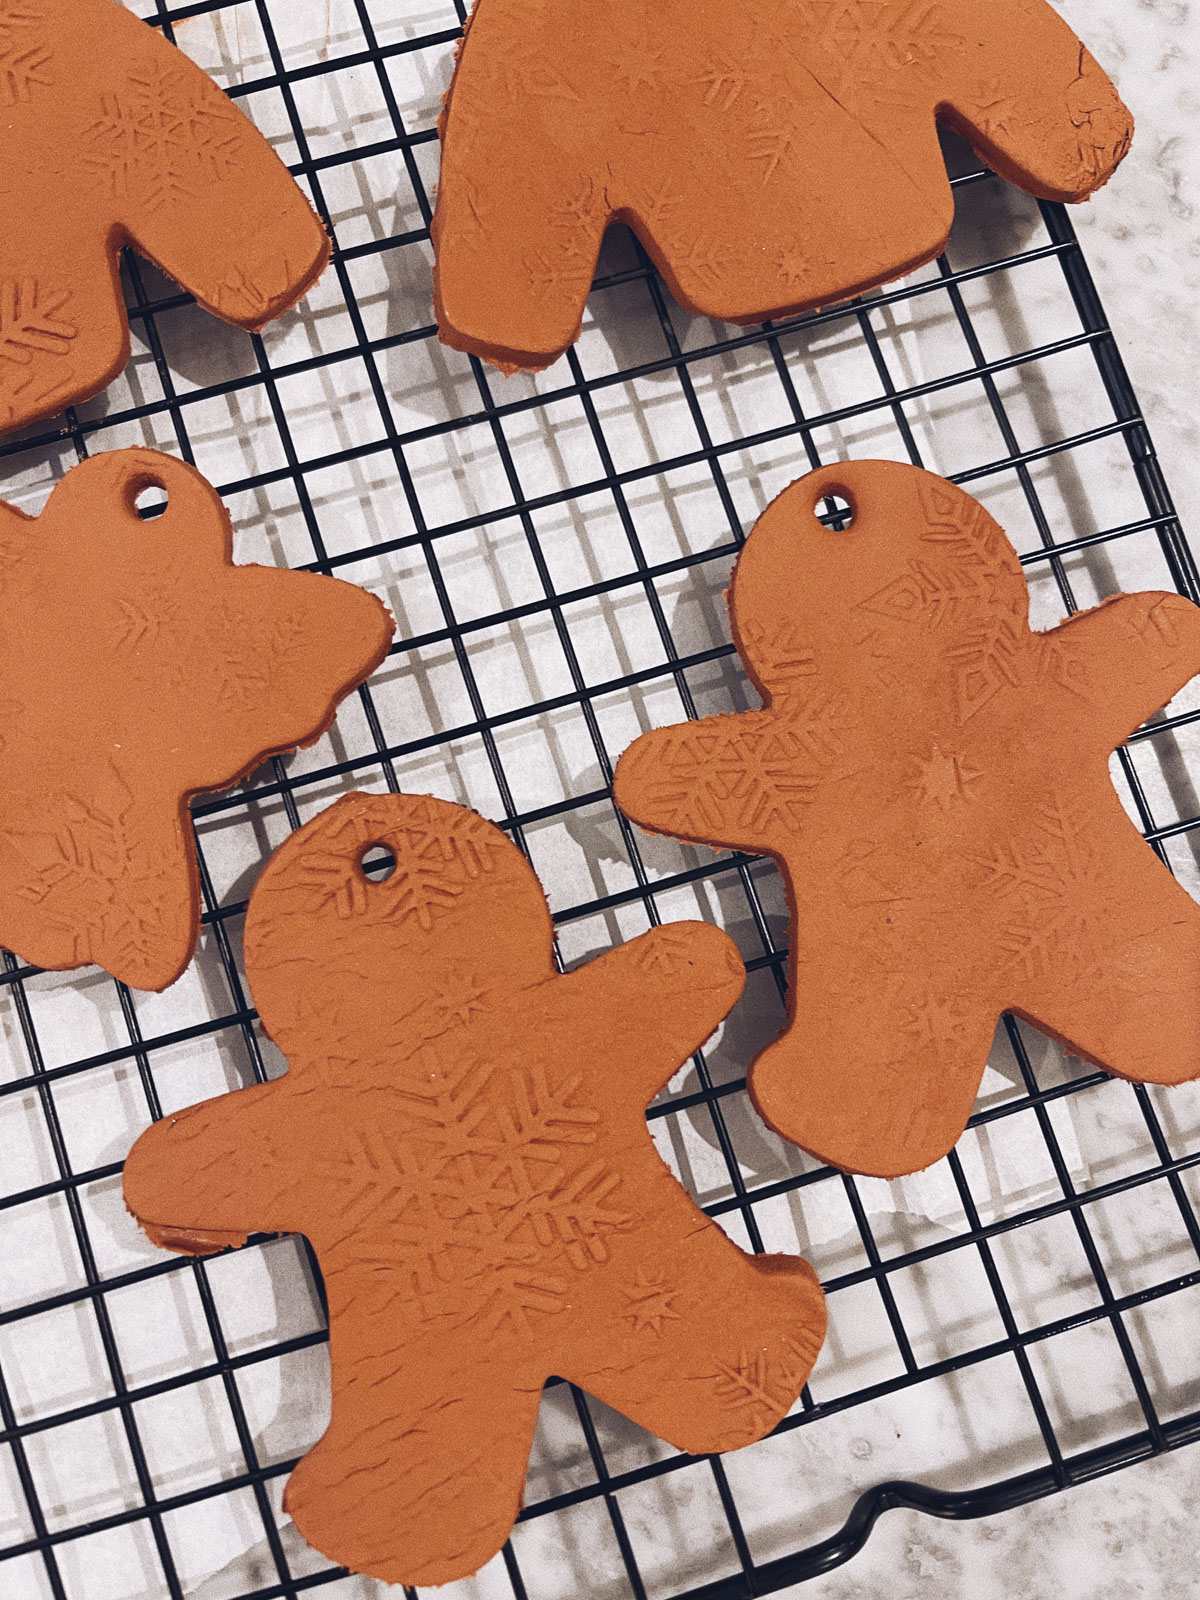
When they look fully dry, turn them over and let the backs dry out.
When that’s done, you can add your string loops for hanging.

And splash liberally with some of your favourite essential oils.
I used a festive blend, but this time of year you could go for cinnamon, orange, clove, pine, cedarwood, eucalyptus, or a blend of your own making.
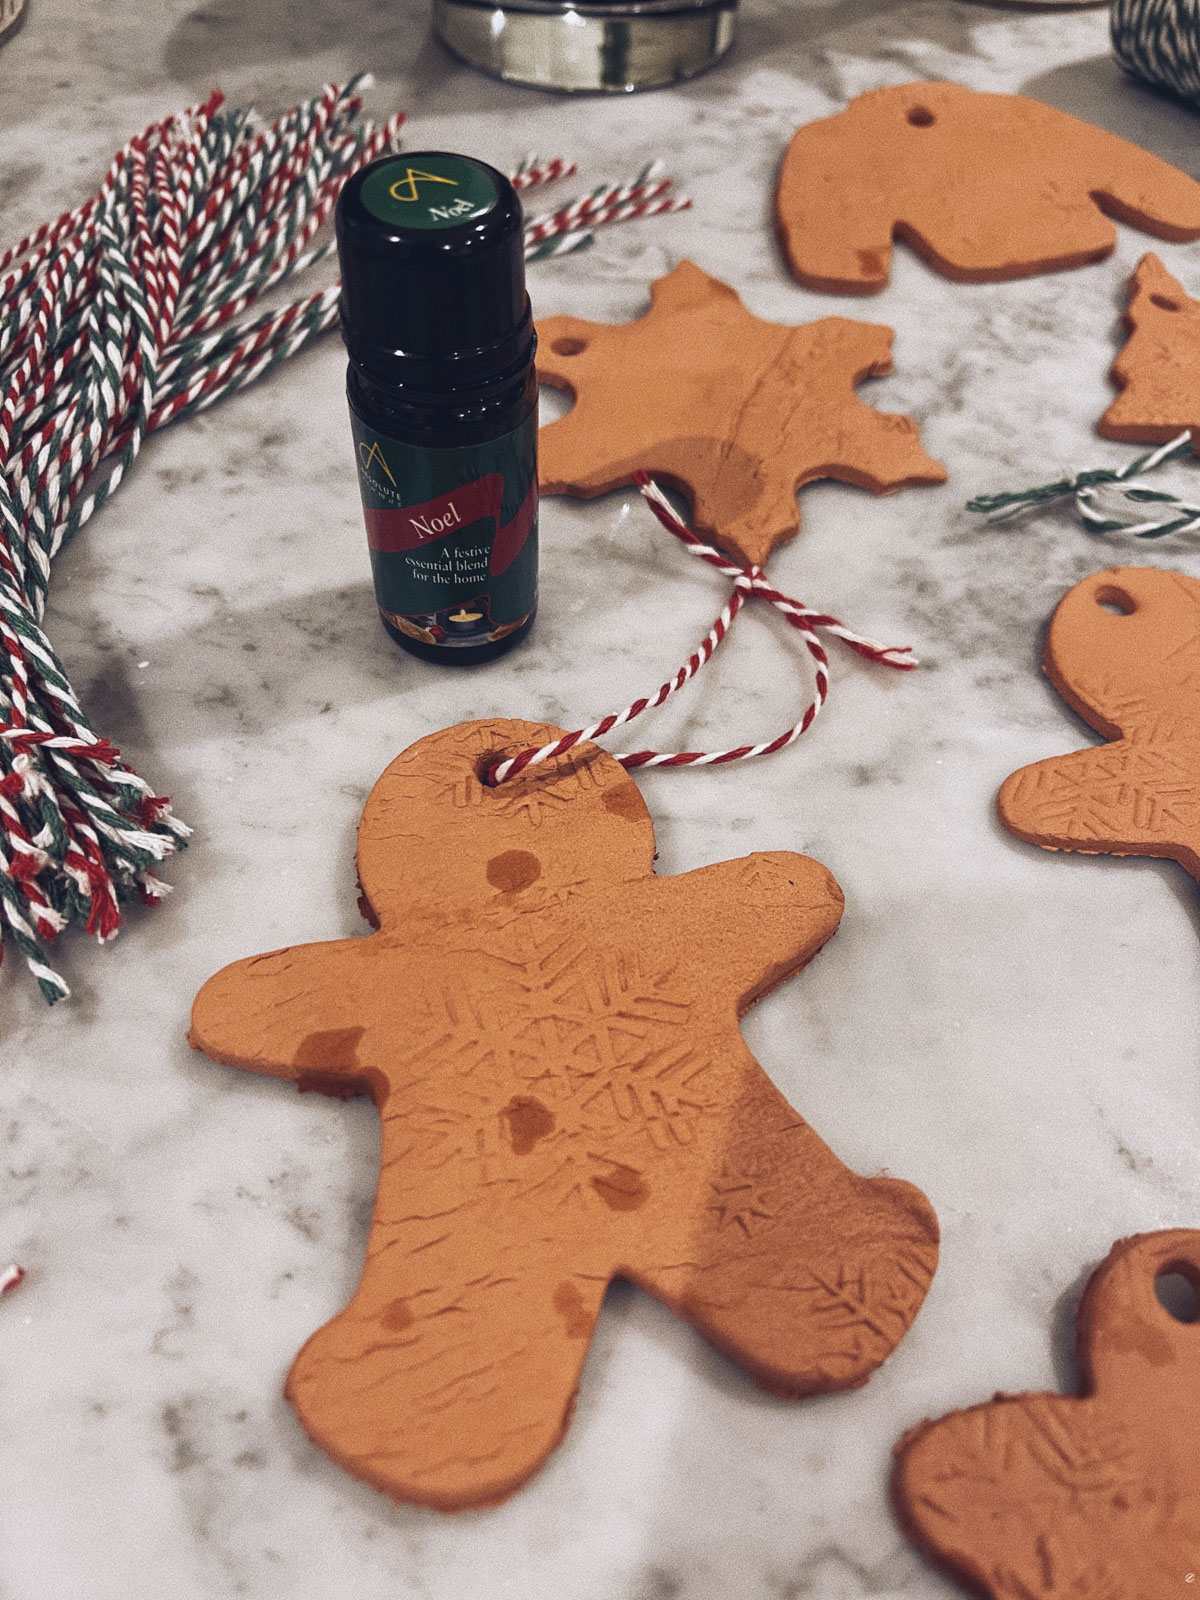
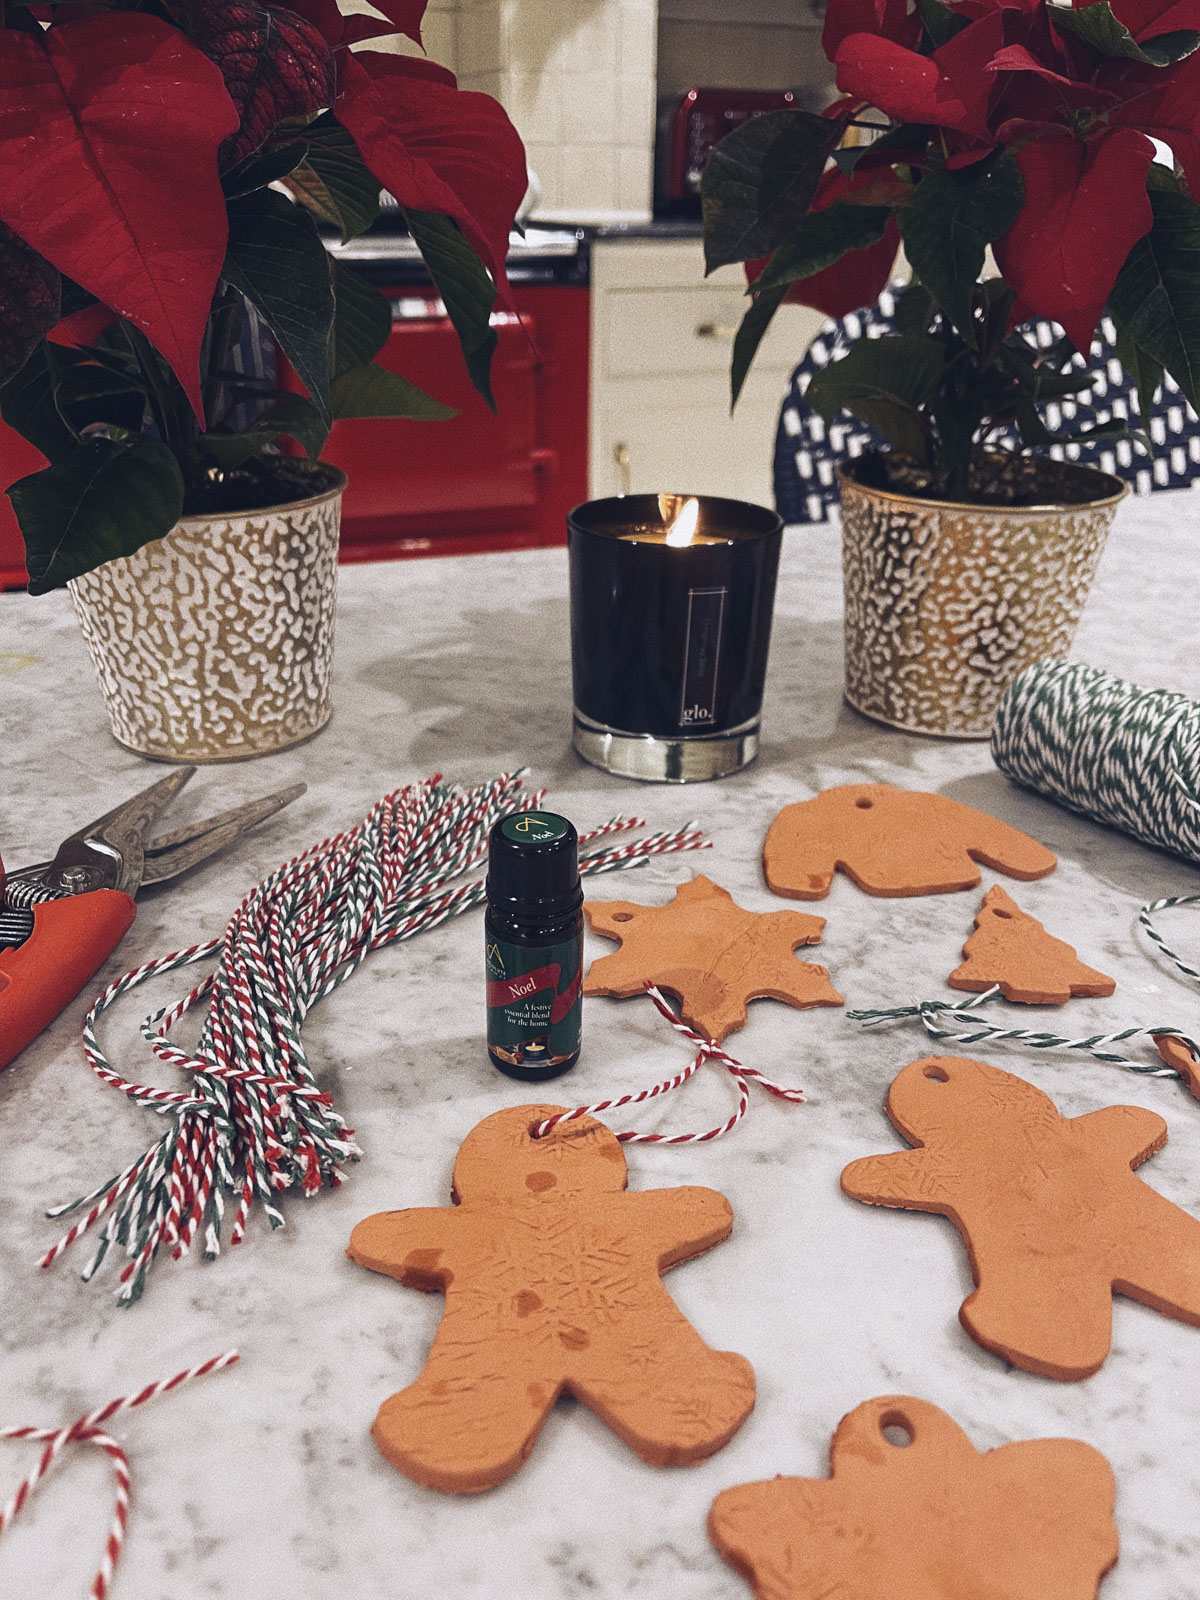
And you’re done!
Wrap them up in tissue paper blankets to give to your nearest and dearest, or simply deck your own halls with your very own creations.
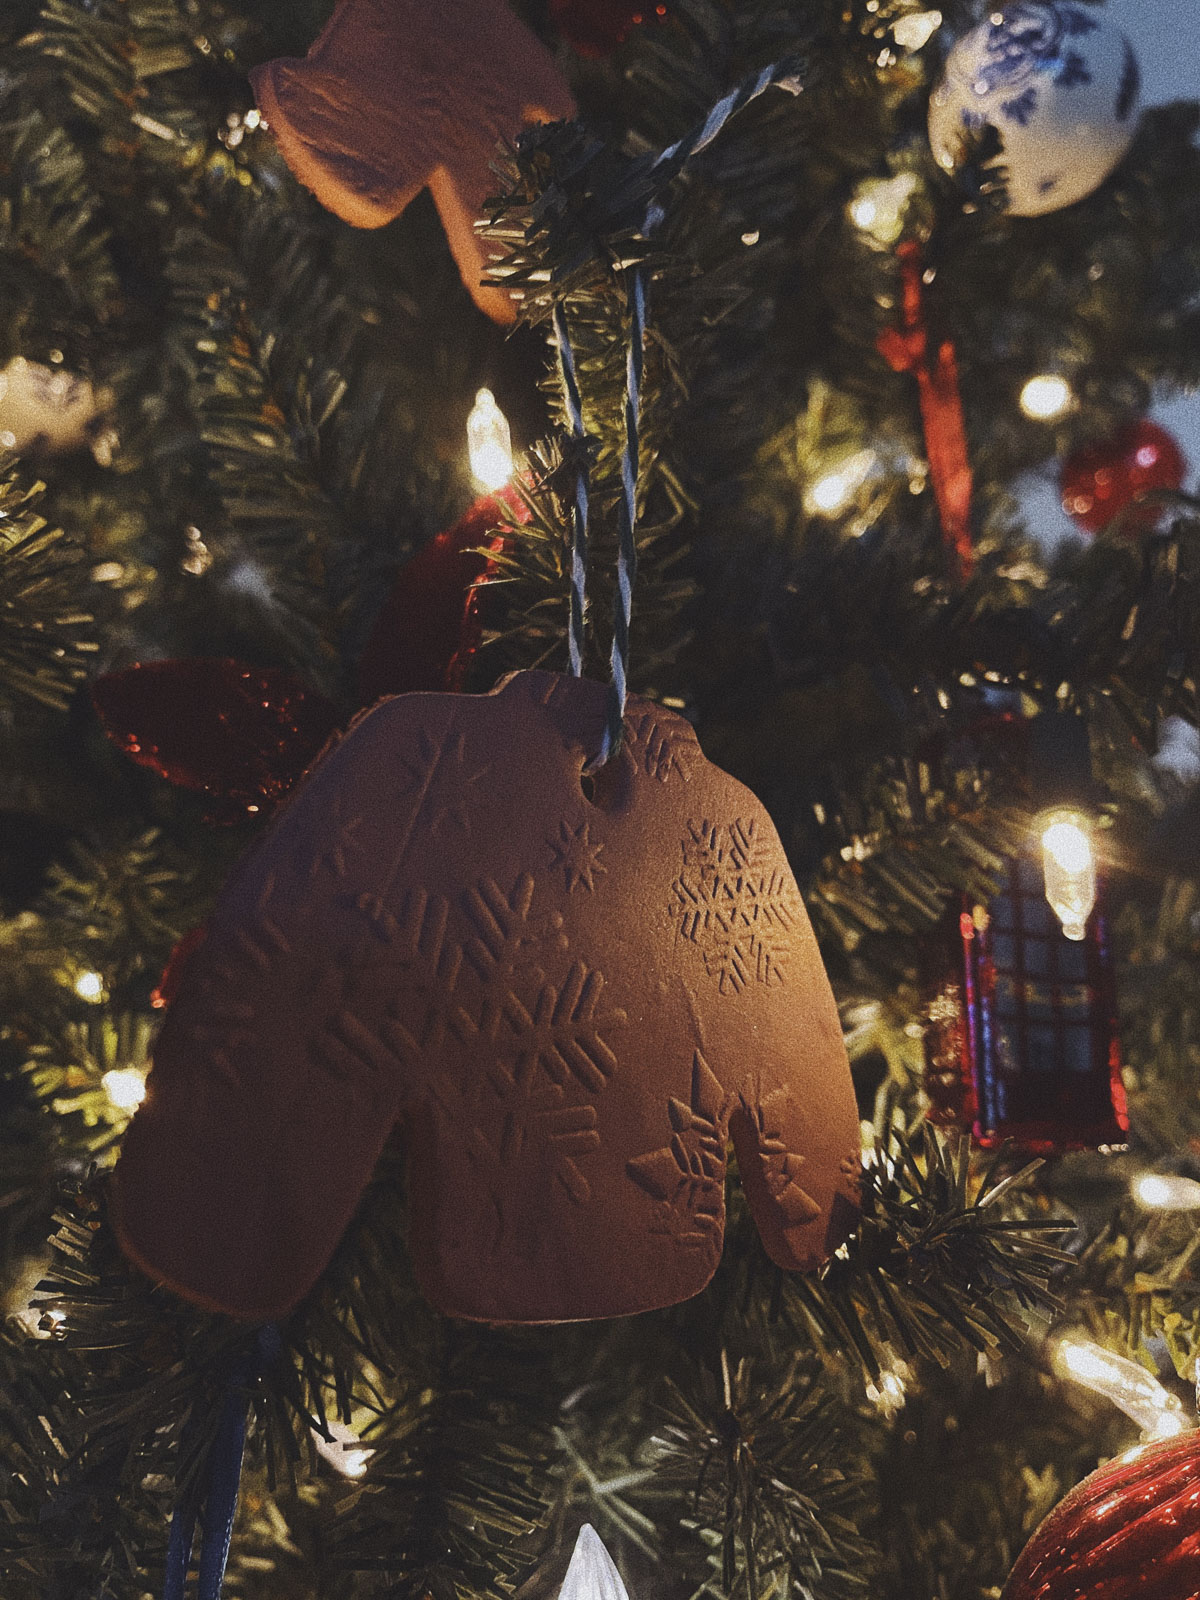
They’ll fill the house with the most wonderful smell of Christmas, and kept safe will bring you joy for many years to come… ok, now I’m getting Santamental.
Honestly, just give them a go. They’re tree-riffic.
