The Queen’s diamond jubilee is fast approaching.
For us Brits this means the run up to one of the biggest events of the year.
The streets are lined with flags & shop windows are bursting at the seems with red, white & blue pride.
Seeing as I was on the other side of the world for The Royal Wedding last year, I’ve decided to get stuck into this particular British shindig!
So, what’s the most English thing you can think of?
(Don’t say rain.)
Victoria Sponges!
What’s better than a Victoria Sponge?
Your very own, individual layered cake… cooked in a tin can!
It feels very Swallows & Amazons to make your own baking tins & they happen to be just the right size.
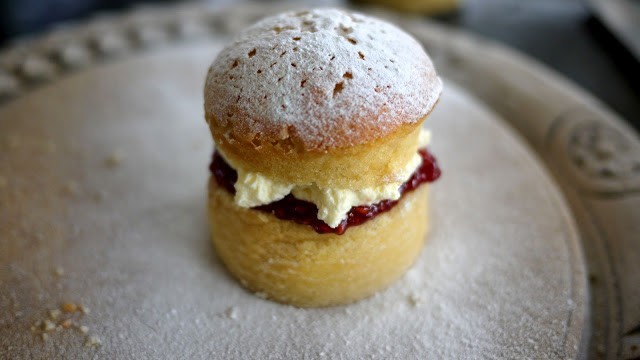
Once you’ve mastered the art, you’ll be whipping up armies of Can Cakes in all different flavours! To make 3 Queenies, you’ll need: 3 smallish tin cans (the kind you buy sweet corn in), Aluminium foil. 2 large free range eggs, 4oz self raising flour, 4oz caster sugar, 4oz salted butter, (1/2tsp baking powder if using a food processor), 1tsp vanilla extract, 1/2 cup double cream, 4 heaped tsp raspberry/strawberry jam, Powdered sugar (for dusting). Preheat your oven to 175째C/350째F. Remove any labels from your cans, scrub until totally clean. (Sweetcorn doesn’t really go with sponge cake.)

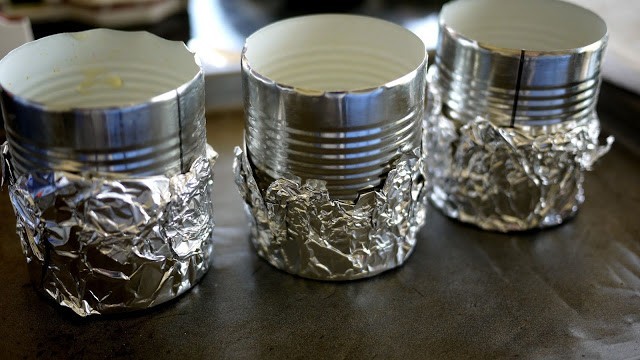
Use a can opener to remove the top & the bottom of your cans. Use tin foil to seal the bottoms. Grease your tins with butter & place them onto a flat baking tray.
If you’re making your sponge by hand, you’ll need to: Cream your butter and sugar together in a bowl until pale and fluffy. Beat in the eggs, one at a time, and stir in your vanilla extract. Then fold in the flour using a large (metal) spoon. (Note: no extra baking powder.) If you’re using a food processor, don’t feel too lazy, I did too. Pop your butter, flour, sugar, eggs, vanilla & baking powder into your blitzer. Make sure the ‘stopper’ is removed, so the air can get in. Turn it on and buzz until you have a smooth batter. Pour your cake mix into your cans, filling a little less than half way.
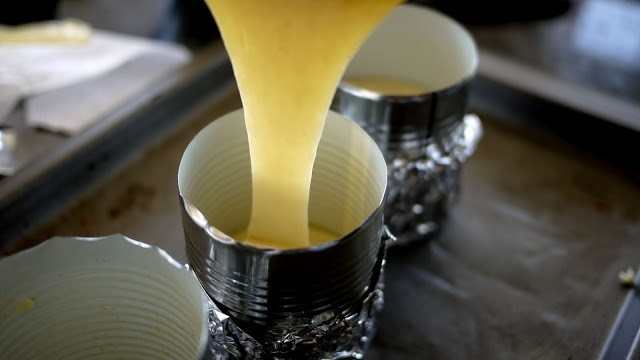
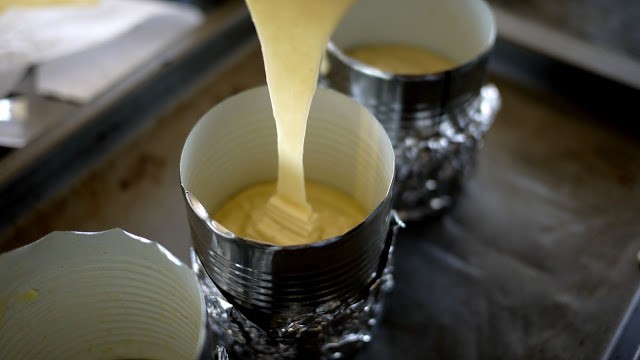
Bake in the middle of your oven for 15mins.
Do not open the door before 15mins are up, but keep an eye on them. While they’re baking, whip up your cream using a whisk and place it to one side. After 15mins, open the door and check on your cakes. The tops should be springy & you should be able to spear them with a skewer and pull it out clean. If they’re not quite done, give them another 5mins.

You should be left with glorious little cakey muffins like these…
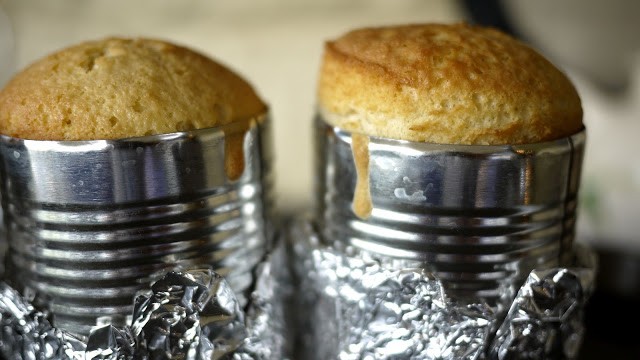
Leave to cool until you can pick them up easily. Then remove the foil & gently push your cakes out of their cans. Give them a little squeeze if they’re being stubborn. Leave to cool on a rack.
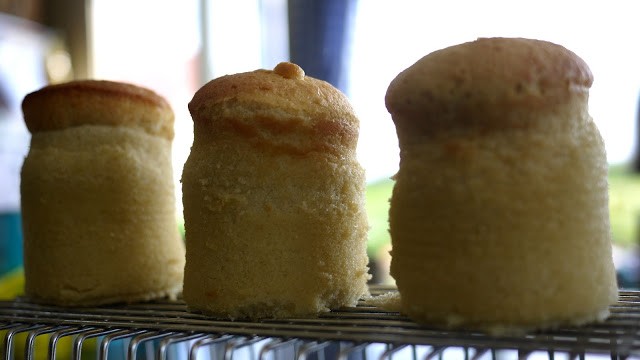
When totally chilled, you can get going with the construction! Obviously our cakes are a little tall for what we want, so I suggest using a bread knife to cut off about an inch from the bottom and putting this to one side (it wont go to waste!). Then cut your cakes in half. Smooth a teaspoon of your jam onto the bottom…
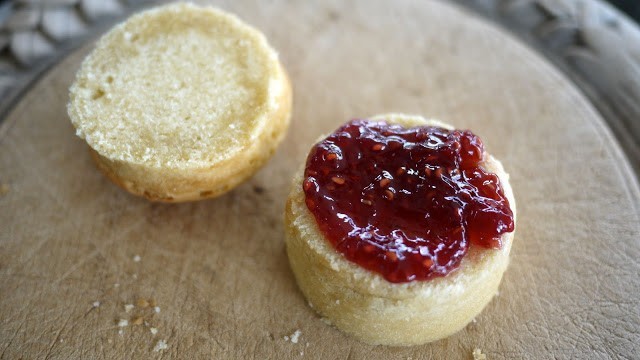
…followed by a heaped teaspoon of whipped cream. Pop your cake back together again.
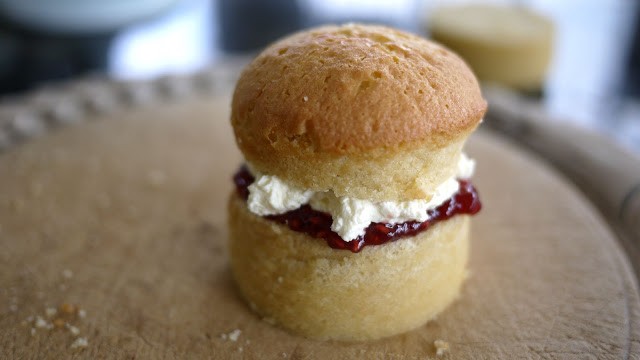
Dust with powdered sugar.
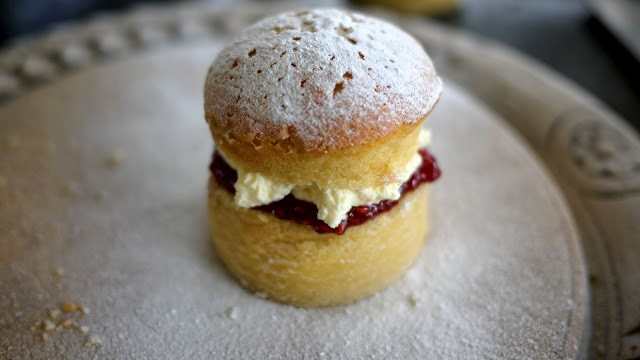
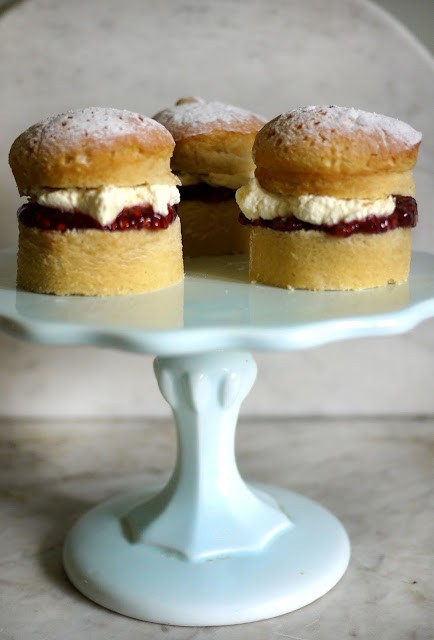
& place onto a thoroughly British cake stand!
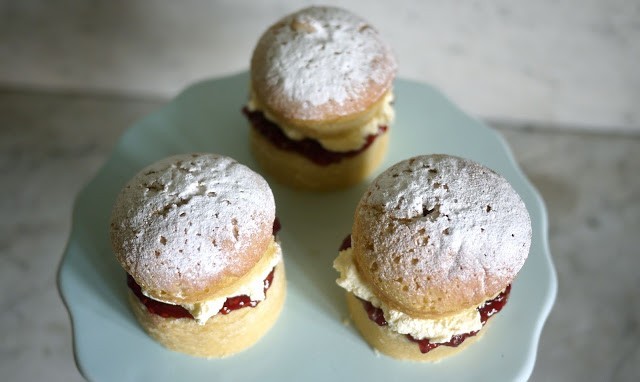
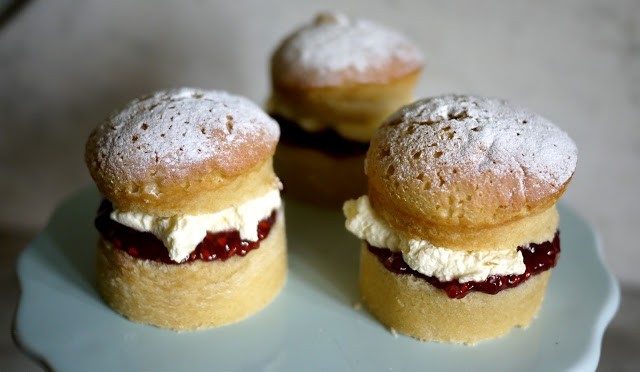
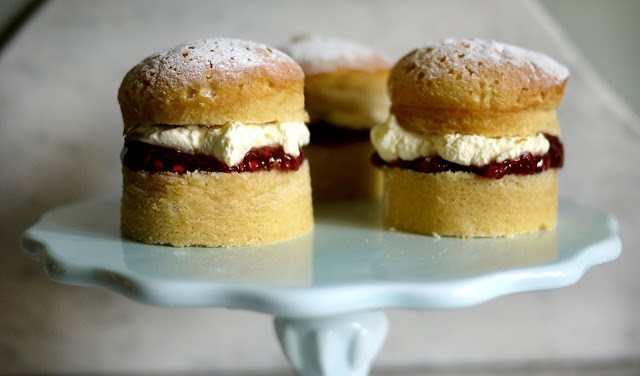
Individual, dainty cakes, fit for a queen!
Also… remember when I told you that those extra bits of cake you cut off wouldn’t go to waste? Well, I used mine to create my own little triple threat! A three tiered monstrosity… just for me to devour before my friends arrived.
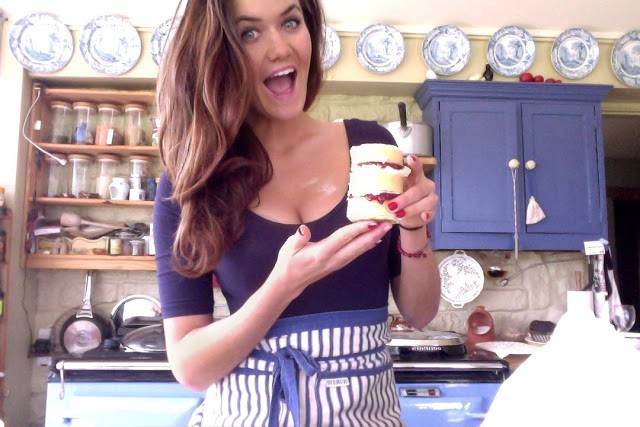
I thoroughly recommend that you do the same. Non Brits & readers from other lands, you’re more than welcome to join our little celebrations! Whip up a batch of Queenies, drape the house in bunting & invite the neighbours round for tea. You can put on Mary Poppins style London accents & call each other ‘Old Codgers’ & the like. Talking points: The weather (obviously), cricket, the football, your pets, Kate Middleton’s hair. God save The Queen! .