One of the best things about this time of year is cuddling up next to the fire with a good book or a great movie.
Warm as toast on a cold winter’s night.
But what do you do when it’s time for the long ol’ trek up to bedfordshire?
Racing up the stairs, wriggling out of your clothes and flinging them onto the floor as you dive into ice cold sheets, teeth chattering away as you go!
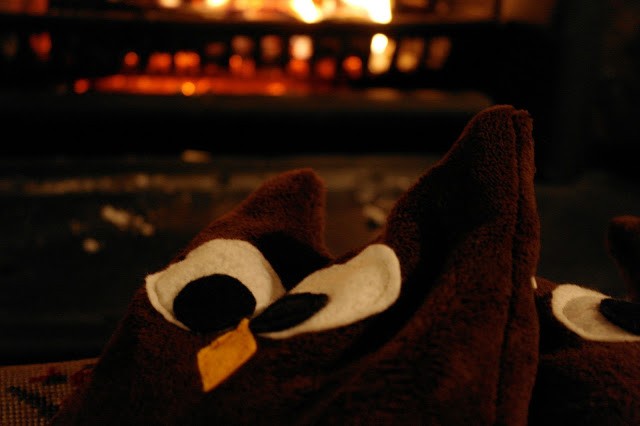
If, like me, you were made for warmer climates, you’ll love these snuggly, warm owls.
You just pop them in the microwave before bed, slip them between the sheets & spoon them all night long.
(They don’t even snore.)
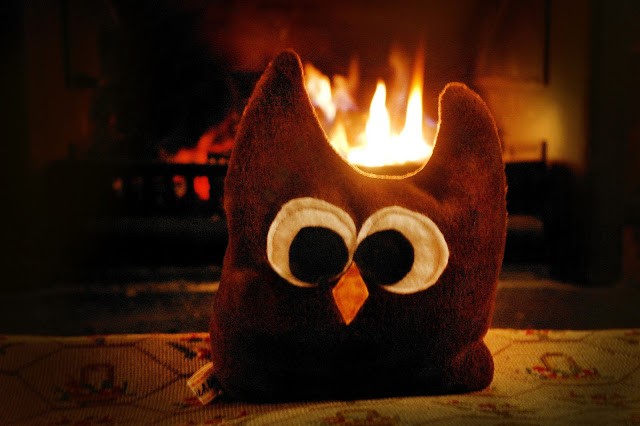

I’ve made mine as Christmas gifts for littlies and oldies alike.
I’m sure they’ll love them, who can resist those silly big eyes?!
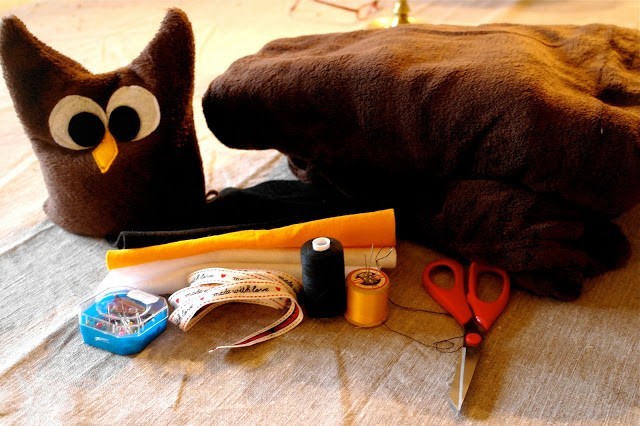
To make your own Snuggly Brown Owl, you will need-
1. Your favourite soft fabric.
(I used a cheap blanket from Tesco, but you could even make one from old pyjamas.)
2. Black, yellow & white felt.
3. Black thread, yellow thread.
4. Sewing needle
5. Scissors
6. Embroidery pins
7. Rice
8. A4 paper (or a sheet of news paper) & a pen.
9. (optional) Name tags, ribbon or labels.
I used a sewing machine to make my owls, you could hand sew them, but make sure you do a really good job of it, so none of his filling escapes.

First-
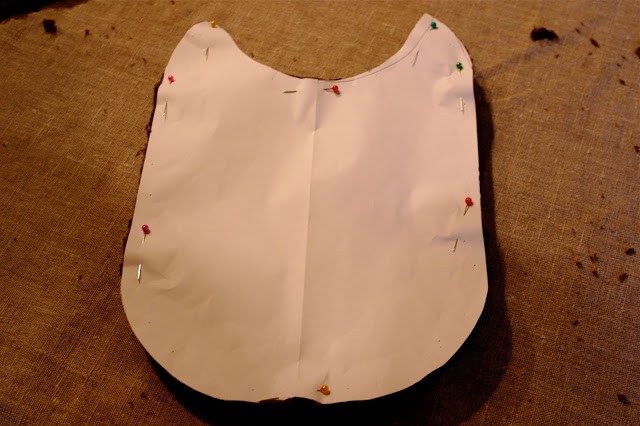
Draw your basic owl shape onto a piece of A4 paper. It should fill most of the paper.
Cut around this.
Fold your fabric over so you have double thickness.
Place your owl template onto & pin it into place.
Cut around it, until you’re left with something like this…
Separate the layers & sew two white felt circles onto one piece of your fabric. I used the sewing machine for this, so it’s not very… circular… but these are rustic, home made owls, do don’t worry about it, too much.

Next you’ll need to hand sew two smaller black circles on as pupils & a little yellow diamond as a nose.

Pin your 2 owl shapes back together, inside out (so that his face is touching the other piece).
Sew around the outline, leaving a gap about 2 inches wide at his bottom.
(Make sure you’ve remove all the pins.)
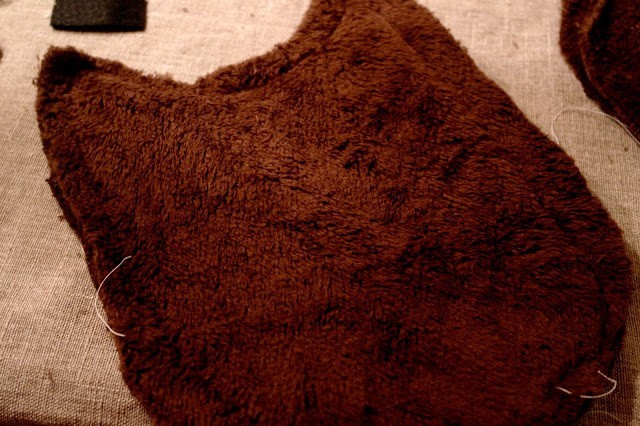
Anchor your stitching & very carefully turn him inside out…
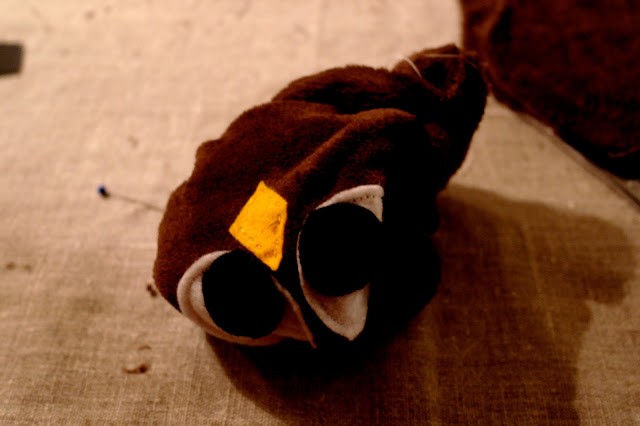
Use a funnel or a piece of paper rolled into a cone to fill him up with your rice.
About 800 grams is pretty much perfect.

When he’s fill, stand him on his head.

Fold the raggedy bits inside & sew him up.
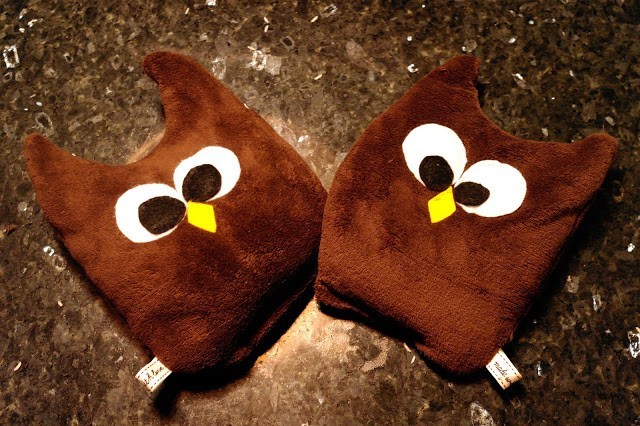
There you have it, your very own, hand made, warm up teddy bear!
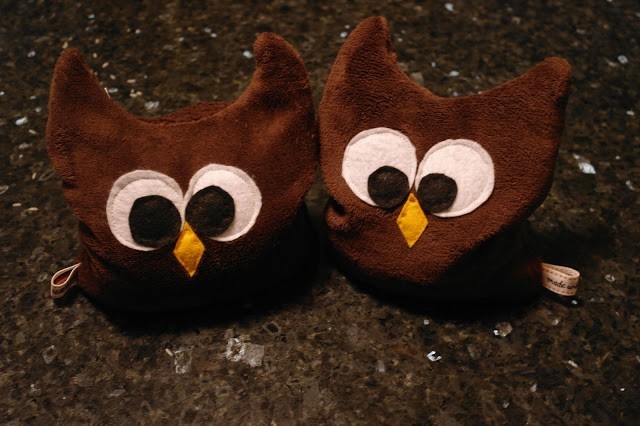
If you’d like to test drive him, pop him in the microwave for 1.5mins (My micro is 900W, so adjust for your own).
When he comes out, place him on a news paper or a tea towel to get rid of any moisture.Â
After a couple mins rest, he should be ready to rock!Â
Scoop him up in your arms, squeeze him & race off to bed.Â
He should stay warm for 45mins-1hour. Just enough time to send you off to the land of nod, cold sheets banished to history.Â
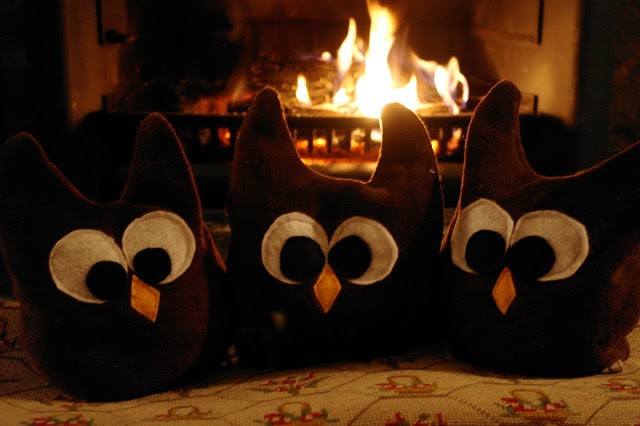
Safety notes-
Never ever bake your owls. Microwave only.
1min 30 seconds was perfect time for me, but wouldn’t advise over 2mins incase it gets too hot.
Do not let children operate the microwave.
Do not leave owls unattended in microwave.
After a few uses, the rice will lose it’s moisture & may burn. To avoid this, just pop a little cup of water in the microwave during heating, and he’ll feel much better.
I know I said I made these as pressies… but I think I’m going to keep one.
Would it be really nerdy of me to call him Errol?
Maybe you could make a white one & call him Hedwig!
.